This post contains affiliate links. As an Amazon Associate I earn from qualifying purchases.
You know, there’s something magical about the first chill in the air that makes me crave the deep warmth of a good French onion soup. It’s that experience of cozying up with a bowl of rich, beefy broth topped with sweet, golden onions and gooey cheese.
But let’s be honest, having a steaming bowl on a cold winter day isn’t just a treat; it’s a necessity! And when I think about how to preserve that experience all year long, canning comes to mind.
Before we jump right into the details, let me share that my favorite dish pairing with French onion soup is a well-crafted grilled cheese sandwich. Just imagine biting into the crispy, golden bread filled with melted cheese, and then savoring a spoonful of that rich onion soup. Heaven!
So, shall we explore how to can French onion soup in a way that preserves its fantastic flavor? Let’s dive in!

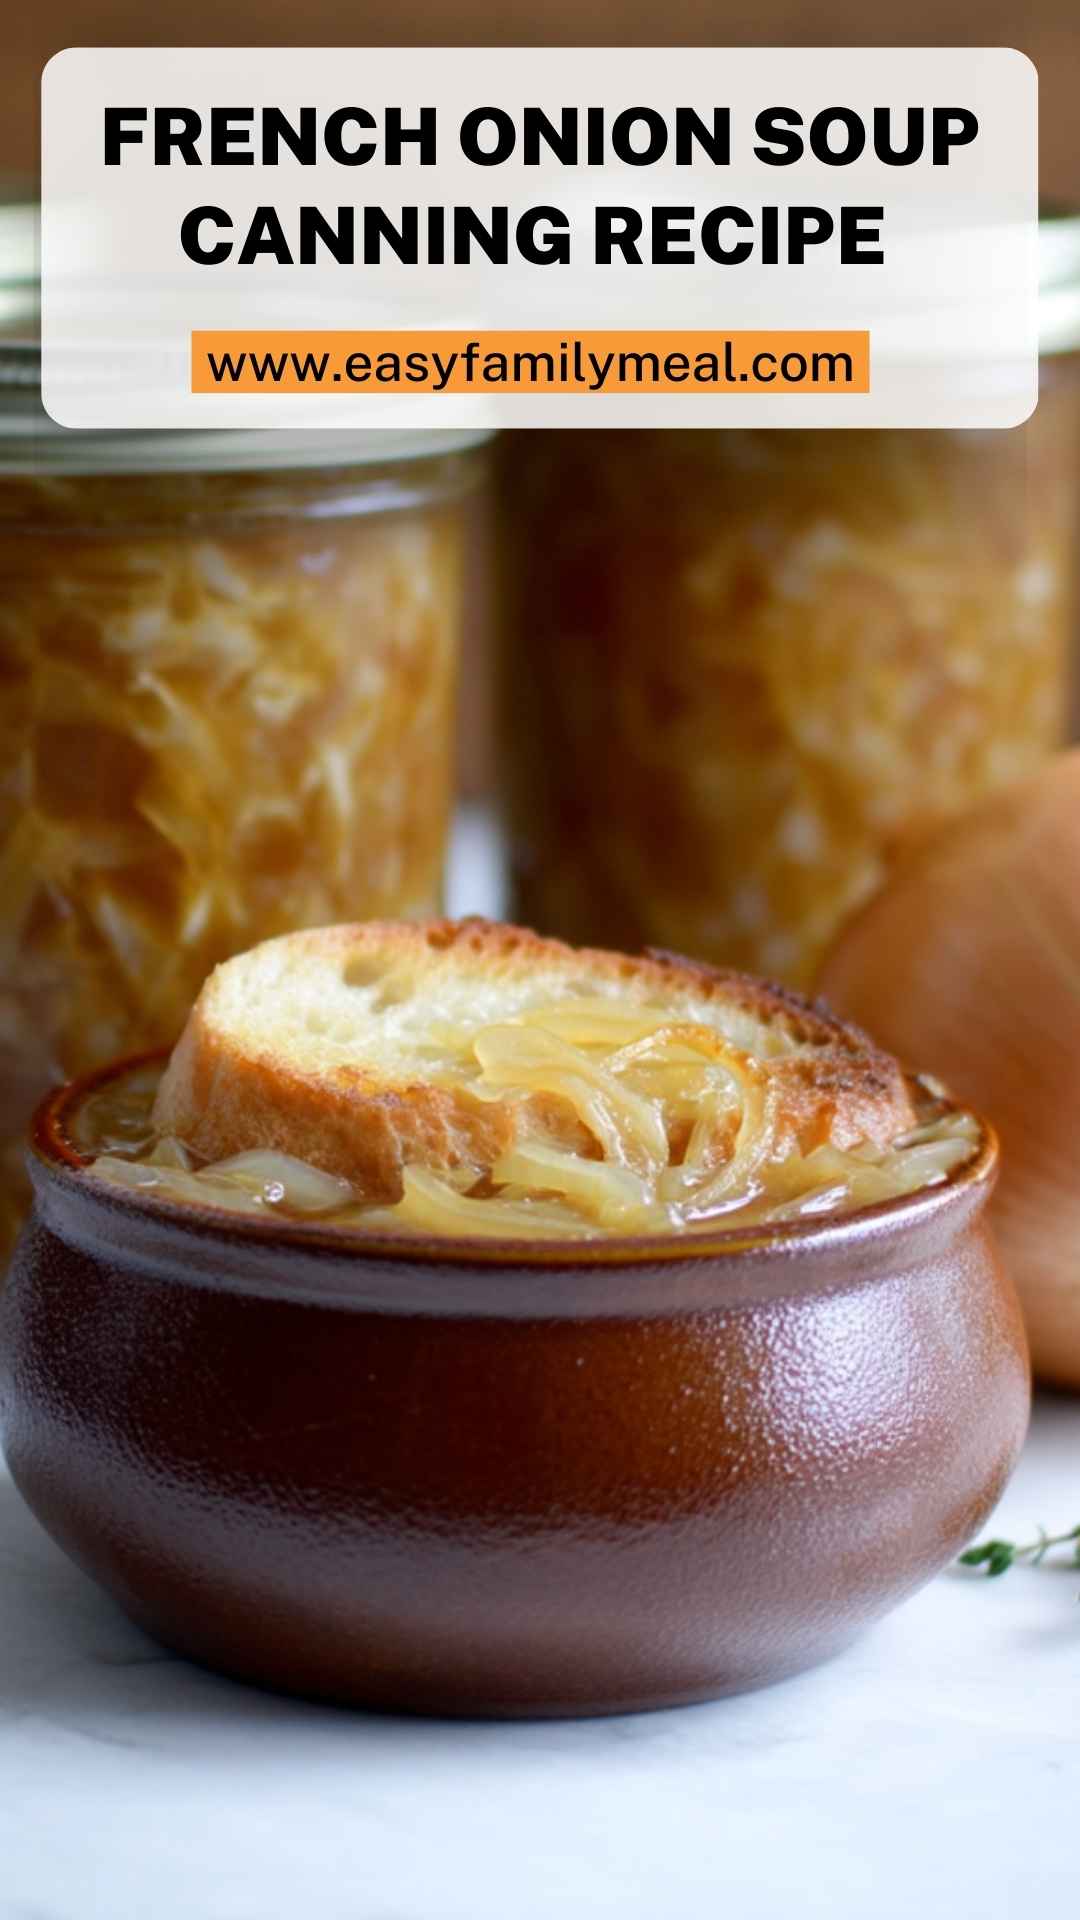
What is French Onion Soup Canning?
Canning French onion soup allows me to save that wonderful dish to enjoy long after the onions are out of season.
This process retains the rich flavors and comforting qualities of the soup. Canning isn’t just about convenience; it’s about making those cozy evenings accessible all year round.
The Ingredients
Before we start cooking, let’s round up my ingredient list. I promise, these are all pretty straightforward—nothing exotic!
- 2 kg caramelization-ready onions, finely sliced
- 1 Tbsp unsalted butter
- 2 cloves garlic, minced
- 1 Tbsp coarse sea salt
- 1 tsp freshly cracked black pepper
- 1 tsp crushed thyme leaves
- 3 L rich beef bone broth (or high-quality store-bought beef, chicken, or vegetable stock)
- 2 ½ cups dry white wine, divided
- ½ cup dry sherry
These ingredients blend harmoniously to create that deep, complex flavor profile that makes French onion soup so beloved. Let’s get cooking!

How to Make French Onion Soup Canning?
In this section, I’ll provide you with the basics before we dive into the details. The process might seem a bit lengthy, but trust me, it’s worth every minute for the extraordinary soup you’ll have on hand.
Step 1: Caramelize the Onions
First things first, we need to transform those raw onions into a sweet, caramel-colored treasure.
- In a large heavy-bottomed pot (a Dutch oven is perfect), melt the butter over medium-low heat.
- Add the sliced onions and stir to coat them in the butter.
- Sprinkle in the sea salt. This will help draw out moisture.
- Cook the onions slowly, stirring frequently. Be patient! This should take anywhere from 30 to 45 minutes. You’re aiming for a rich, golden-brown color.
Step 2: Add the Garlic
Once your onions are caramelized, it’s time to elevate the flavor.
- Add the minced garlic to the pot and stir. Cook for about 1-2 minutes until fragrant. Resist the urge to burn it; we want the sweetness to shine through.
Step 3: Deglaze with Wine and Sherry
Now, let’s bring out even more flavor.
- Pour in 2 cups of the dry white wine and the dry sherry.
- Scrape the bottom of the pot with a wooden spoon to release the flavorful bits stuck to it. Let this simmer for about 5-7 minutes until the liquid reduces.
Step 4: Add Broth and Seasoning
With the base set, we want to introduce our liquids.
- Add in the beef bone broth while stirring.
- Follow with the remaining half-cup of wine and thyme leaves.
- Bring the mixture to a gentle boil, then reduce to low heat and let it simmer for 30 minutes.
Step 5: Prepare for Canning
At this point, we want to assure everything is ready for the canning step.
- While the soup simmers, prepare your canning jars and lids by sterilizing them in boiling water.
- Once the soup is ready, remove it from the heat and taste. Adjust the seasoning with salt and pepper as needed.
Step 6: Fill and Seal the Jars
Now we’re in the home stretch!
- Using a ladle, carefully fill each sterile jar with the hot soup, leaving about 1 inch of headspace.
- Wipe the rims of the jars with a clean cloth to ensure a good seal.
- Place the lids on top and screw on the rings until they are fingertip-tight.
Step 7: Process the Jars
This is the final step in ensuring your soup stays safe and delicious for months to come.
- Process your jars in a pressure canner at 10-15 pounds of pressure for about 20 minutes.
- After processing, allow the canner to cool down completely before removing the jars.
- Place the jars on a clean kitchen towel or cooling rack to cool completely.
Notes
- Use fresh onions: The fresher your onions, the better the flavor.
- Don’t rush the caramelization: It can be tempting to crank up the heat but resist!
- Taste testing: Always taste your broth before canning; it’s easier to season early.
- Monitor your jars: After cooling, ensure they’ve sealed properly. A lid that flexes up and down is not sealed.
- Store in a cool, dark place: This helps maintain the quality of the soup over time.
Storage Tips
Canned French onion soup can be stored in a cool, dark cupboard. Make sure to consume within a year for the best flavor. Keep an eye out for changes in color or smell before using.
Serving Suggestions
When you’re ready to enjoy that delightful soup, here are some tasty ideas:
- Classic Grilled Cheese: A crispy, cheesy sandwich is a perfect companion.
- Toasted Baguette Slices: Simply drizzle with olive oil and toast until golden.
- Roasted Garlic Bread: Slathered in garlic butter, it’s the perfect vehicle for dipping.
- Salad: A fresh salad can balance out the rich soup nicely.
- Wine Pairing: A glass of the same dry white wine used in the soup is a delightful way to pair!
What Other Substitutes Can I Use in French Onion Soup Canning?
- Vegetable Broth: For a vegetarian version, swap the beef broth for vegetable broth.
- Red Wine: Some may prefer a rounder, fruitier flavor.
- Shallots: If you want a sweeter onion type, shallots can be caramelized with the onions to create depth.
- Onion Powder: In a pinch, if you’re low on fresh onions, onion powder offers a concentrated flavor.
- Herbs: Fresh herbs like rosemary or bay leaves can be added for extra flavor.

Conclusion
Canning French onion soup is not merely a task; it’s a labor of love. The warmth of the rich flavors, the sweet onions, and the joy of seeing those jars lined up in your pantry make every effort worthwhile. So, grab your ingredients, and let the adventure begin!
You’ll also like the following recipes!
- Mini No Bake Cheesecake Copycat Recipe
- How To Make Classic French Onion Soup Recipe
- Best of Best And Easy French Toast Recipe
French Onion Soup Canning Recipe – Easy Family Meal
Ingredients
Method
- First things first, we need to transform those raw onions into a sweet, caramel-colored treasure. In a large heavy-bottomed pot (a Dutch oven is perfect), melt the butter over medium-low heat. Add the sliced onions and stir to coat them in the butter. Sprinkle in the sea salt. This will help draw out moisture. Cook the onions slowly, stirring frequently. Be patient! This should take anywhere from 30 to 45 minutes. You’re aiming for a rich, golden-brown color.
- Once your onions are caramelized, it’s time to elevate the flavor. Add the minced garlic to the pot and stir. Cook for about 1-2 minutes until fragrant. Resist the urge to burn it; we want the sweetness to shine through.
- Now, let’s bring out even more flavor. Pour in 2 cups of the dry white wine and the dry sherry.Scrape the bottom of the pot with a wooden spoon to release the flavorful bits stuck to it. Let this simmer for about 5-7 minutes until the liquid reduces. Add in the beef bone broth while stirring. Follow with the remaining half-cup of wine and thyme leaves.Bring the mixture to a gentle boil, then reduce to low heat and let it simmer for 30 minutes.
- With the base set, we want to introduce our liquids.
- At this point, we want to assure everything is ready for the canning step. While the soup simmers, prepare your canning jars and lids by sterilizing them in boiling water.Once the soup is ready, remove it from the heat and taste. Adjust the seasoning with salt and pepper as needed.
- Now we’re in the home stretch! Using a ladle, carefully fill each sterile jar with the hot soup, leaving about 1 inch of headspace.Wipe the rims of the jars with a clean cloth to ensure a good seal.Place the lids on top and screw on the rings until they are fingertip-tight.
- This is the final step in ensuring your soup stays safe and delicious for months to come. Process your jars in a pressure canner at 10-15 pounds of pressure for about 20 minutes.After processing, allow the canner to cool down completely before removing the jars.Place the jars on a clean kitchen towel or cooling rack to cool completely.
Notes
- Use fresh onions: The fresher your onions, the better the flavor.
- Don’t rush the caramelization: It can be tempting to crank up the heat but resist!
- Taste testing: Always taste your broth before canning; it’s easier to season early.
- Monitor your jars: After cooling, ensure they’ve sealed properly. A lid that flexes up and down is not sealed.
- Store in a cool, dark place: This helps maintain the quality of the soup over time.