Homemade spicy chili crisp! It’s that magical addition that elevates any meal from ordinary to extraordinary. From drizzling it over rice bowls to using it as a dip for spring rolls, the options are endless. Picture this: a bowl of plain white rice. Simple, right? Now add a generous spoonful of your homemade chili crisp, and suddenly, you’ve transformed your meal into a flavorful fiesta.
You can also enjoy this fiery delight atop crispy dumplings, mixed into your favorite stir-fry, or even slathered on avocados for an unexpected twist. The beauty of chili crisp is its versatility; it complements a vast array of dishes, whether you’re in the mood for something Asian-inspired or looking to spice up your everyday snacks.
Why This Recipe Works
1. Balance of Flavors: This chili crisp artfully combines heat from chili flakes and peppers with the savory notes of garlic and shallots. This dynamic balance ensures that every spoonful is a burst of excitement for your taste buds.
2. Textural Contrast: Crunch is key. By incorporating fried garlic and shallots, this recipe adds layers of texture that keep the experience lively. Each bite brings a satisfying crunch that complements the oil’s smoothness.
3. Customizability: Not a fan of a particular spice? You can easily tweak this recipe. Add more heat, mellow out the chili, or adjust the garlic to match your tastes. Everyone loves a little flexibility, right?
4. Freshness of Ingredients: Using fresh garlic, shallots, and peppers ensures that your chili crisp bursts with vibrant flavors. When the ingredients are fresh, your final product will shine, promising quality in every drizzle.
How Does It Taste Like?
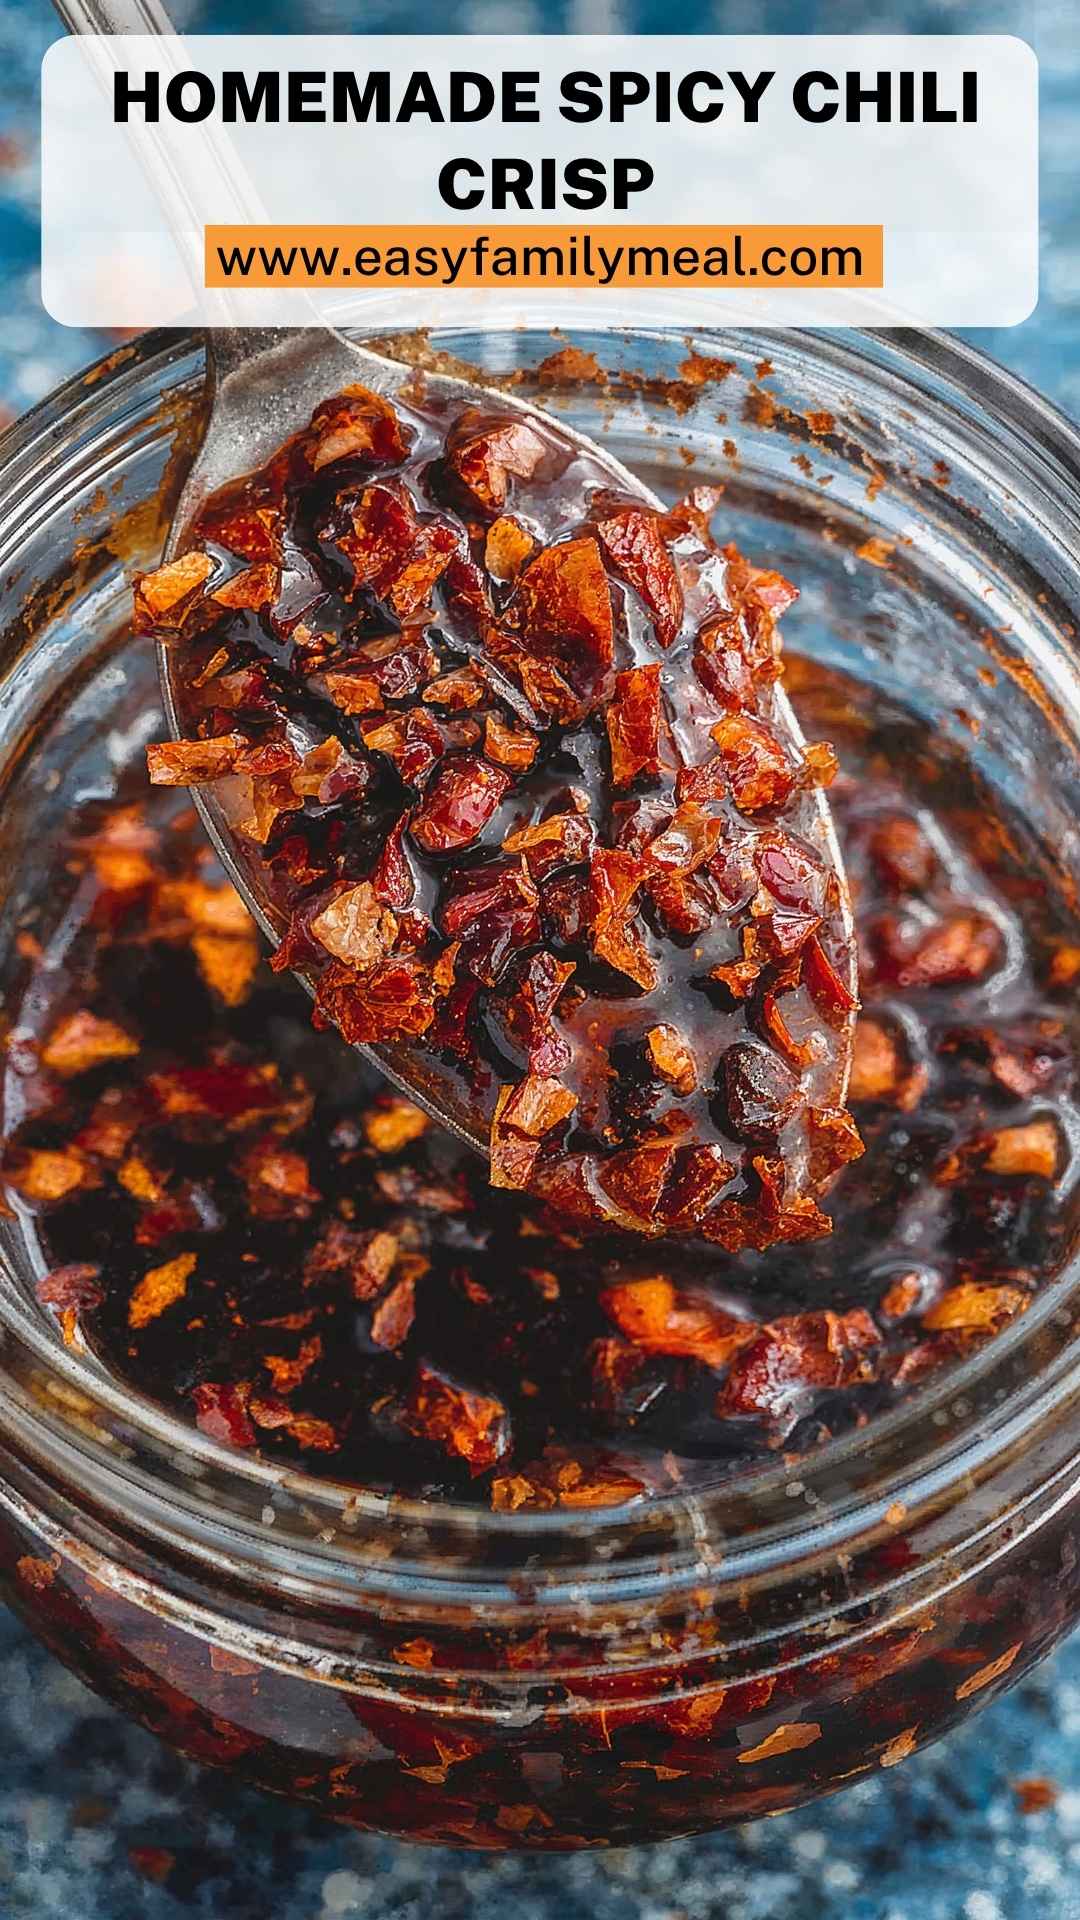
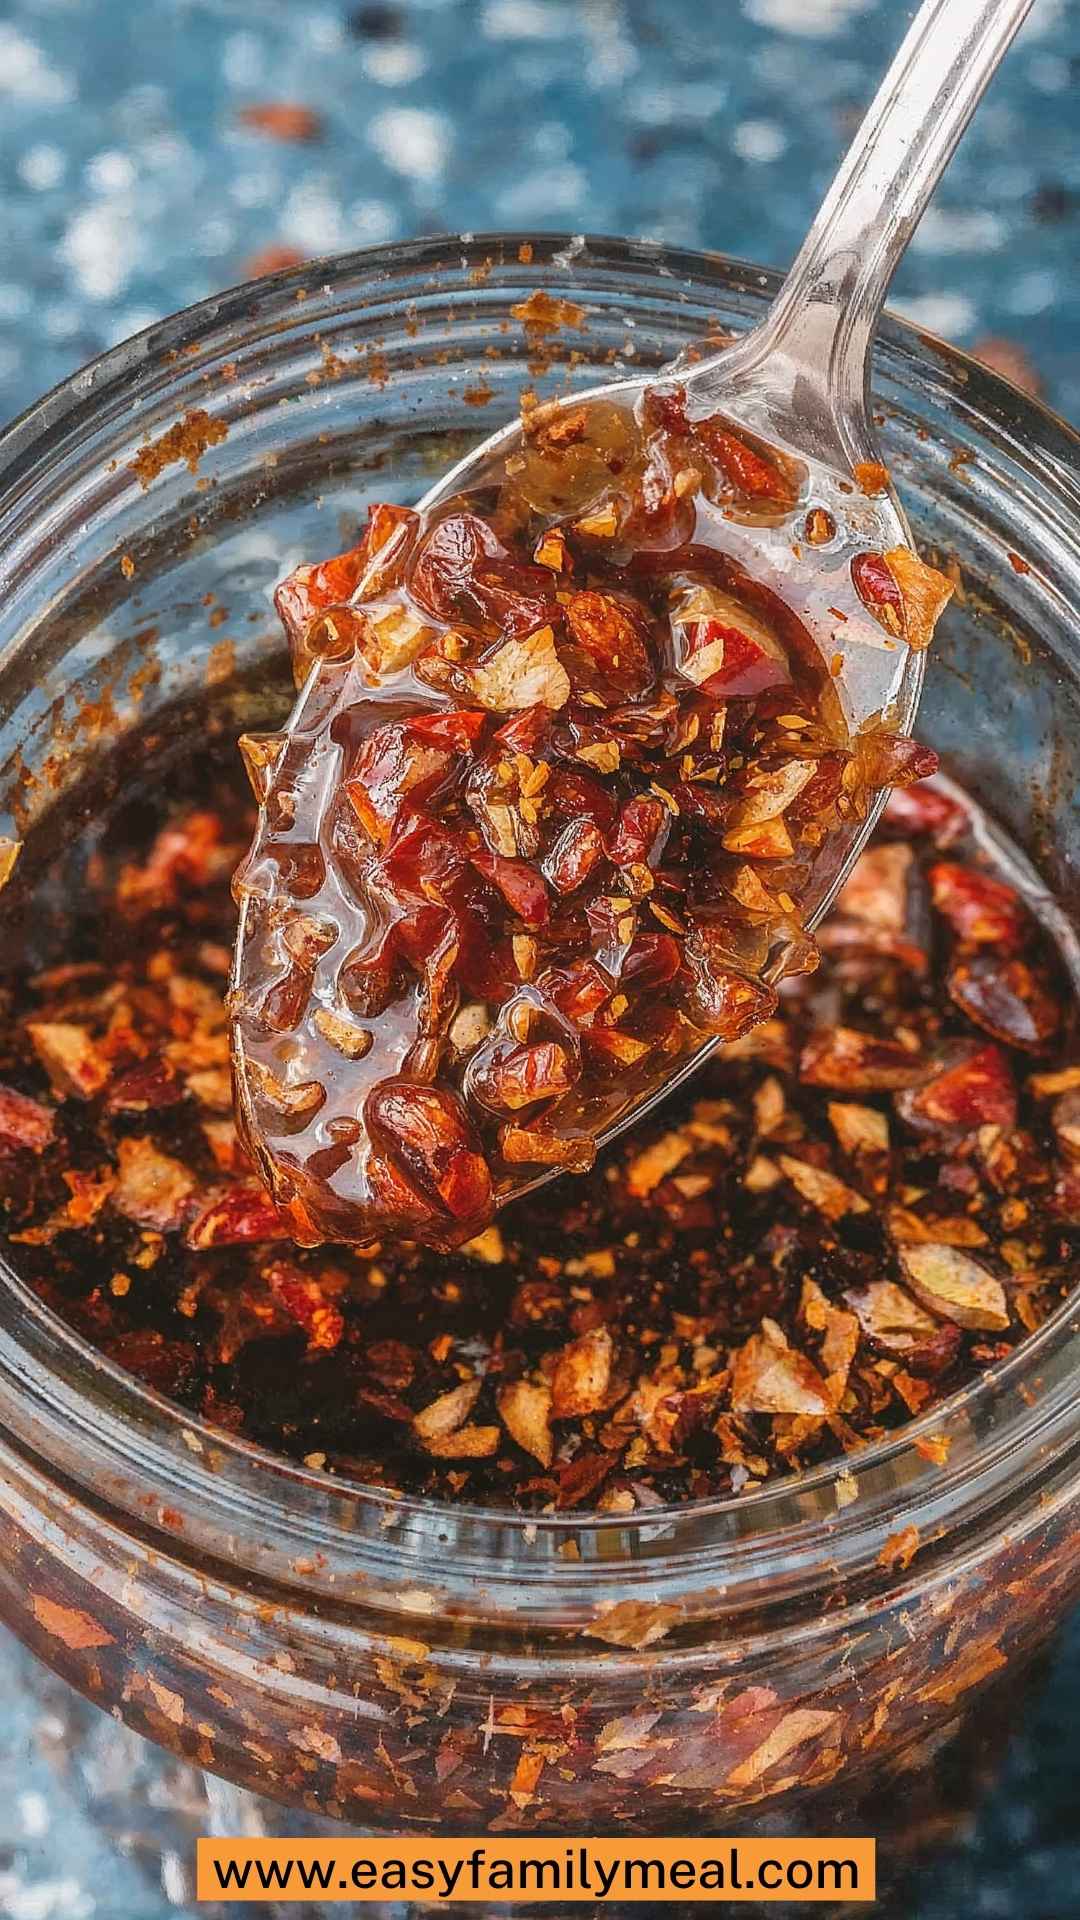
The taste of this homemade spicy chili crisp is an explosion of flavor. The rich, nutty aroma of oil-infused garlic hits first, followed closely by the warmth of red chili flakes. You’ll experience a pleasant heat that lingers but doesn’t overpower.
The sweetness from a hint of sugar balances the spices, creating a complex yet harmonious flavor profile. It’s like a dance of sensations in your mouth: spicy, crunchy, savory, and slightly sweet—all at the same time.
What Sets This Recipe Apart from Other Homemade Spicy Chili Crisp Variations?
What makes my version of spicy chili crisp stand out is the harmonious blend of ingredients and the simplicity of preparation.
Others may rely heavily on store-bought bases or obscure spices. However, I prioritize freshness and quality. By focusing on reliable seasonings like soy sauce and smoked paprika, I ensure that the foundations of taste are solid.
Moreover, my chili crisp’s crunchy garlic pieces are perfectly golden and deliciously addictive. They don’t just sit there; they add character and substance. Each spoonful tells a story, bridging the lines between different culinary traditions, and elevating dishes across the board.
The Ingredients
Creating your homemade spicy chili crisp might seem daunting, but you’ve got everything you need in this straightforward list.
- 1 tablespoon soy sauce – This adds umami depth.
- ¼ cup red chili flakes – Choose your preferred heat level!
- 2 serrano peppers, rough chopped – Give it that authentic kick.
- 1.5 cups vegetable oil or use peanut oil – Oil is the medium for all those flavors.
- 1 tablespoon smoked paprika or a Gochugaru seasoning blend, or cayenne for more heat – Infuses a deep flavor and smokiness.
- 10 cloves garlic, rough chopped – For that essential aromatic base.
- 1 teaspoon sugar – A touch of sweetness to balance.
- 1 teaspoon black peppercorns or use Sichuan peppercorns – Adds a unique zing.
- 1 shallot, rough chopped – Brings sweetness and depth.
- ½ teaspoon MSG (optional) – Use sea salt as an alternative – For flavor enhancement.
Instructions
Step 1: Gather Your Ingredients
Start by gathering all the ingredients. Having everything ready makes the cooking process much smoother.
Step 2: Prepare the Garlic and Shallots
Roughly chop your garlic and shallots. This doesn’t need to be perfect; we’re going for flavor!
Step 3: Heat Your Oil
In a saucepan, heat the oil over medium heat. Once the oil is warm, reduce the heat to low. You don’t want to scorch your garlic.
Step 4: Add Garlic and Shallots
Slowly add the chopped garlic and shallots to the oil. Cook them gently for about 5-7 minutes until they’re golden brown. Stir occasionally to prevent burning.
Step 5: Mix in Peppers and Seasonings
Once your garlic and shallots are golden, it’s time to mix in the serrano peppers and red chili flakes. Let this mixture simmer for another minute. The aim here is to let the flavors meld without losing that fresh garlic taste.
Step 6: Add Soy Sauce and Paprika
Stir in the soy sauce, smoked paprika (or your chosen seasoning), sugar, and peppercorns. Allow the mixture to cook for another minute.
Step 7: Cool and Store
After everything is combined and cooked, remove the pan from the heat. Let the chili crisp cool down a bit before transferring it to a jar. This delightfully fiery condiment can be stored in your refrigerator for weeks— if it lasts that long!
Notes
- Experiment with Spice Levels: Adjust the amount of chili flakes to suit your heat preference.
- Consider Your Oil: Peanut oil gives a unique flavor, but you can use any neutral oil you enjoy.
- Watch the Heat: Keep the temperature low when frying the garlic. Burnt garlic can ruin the flavor.
- Storage Container: Use a glass jar to store your chili crisp; it keeps flavors intact better than plastic.
- Enjoy it Fresh: For the best flavor, use your chili crisp within a month.
Nutrition Information
One tablespoon of this homemade spicy chili crisp is approximately:
- Calories: 80
- Fat: 9g
- Carbohydrates: 2g
- Sugars: 0g
- Protein: <1g
How Do You Store This Homemade Spicy Chili Crisp?
Storing your chili crisp is straightforward. After cooling, transfer it into a sterilized jar. Seal it tightly and refrigerate. It should last for up to a month. Often, the flavors intensify as it sits, meaning you’ll discover new dimensions to its taste.
Sides for Homemade Spicy Chili Crisp
If you’re looking for something to pair with your spicy chili crisp, here are a few ideas:
1. Crispy Dumplings: These are a natural companion to chili crisp. The rich, savory filling in the dumplings complements the kick of the chili.
2. Fried Rice: Jazz up a bowl of simple fried rice by drizzling a few spoonfuls of your chili crisp right before serving. The fusion of flavors creates a deliciously balanced meal.
3. Tofu Stir-fry: Add a dollop of chili crisp to any tofu stir-fry. It gives the dish a punch that pairs perfectly with the protein-rich tofu.
What Alternatives Can You Use for the Ingredients If They Are Not Present in Your Kitchen?
1. For Soy Sauce: Use tamari for a gluten-free alternative, or coconut aminos for a soy-free option.
2. In Place of Red Chili Flakes: Use crushed red pepper, or if you want more heat, try cayenne or even a fresh chili.
3. Instead of Serrano Peppers: Jalapeños or Thai bird’s eye chilis can be used depending on your heat tolerance.
4. For Smoked Paprika: Regular paprika can be used; however, consider adding a little chipotle powder for that smokiness.
Conclusion
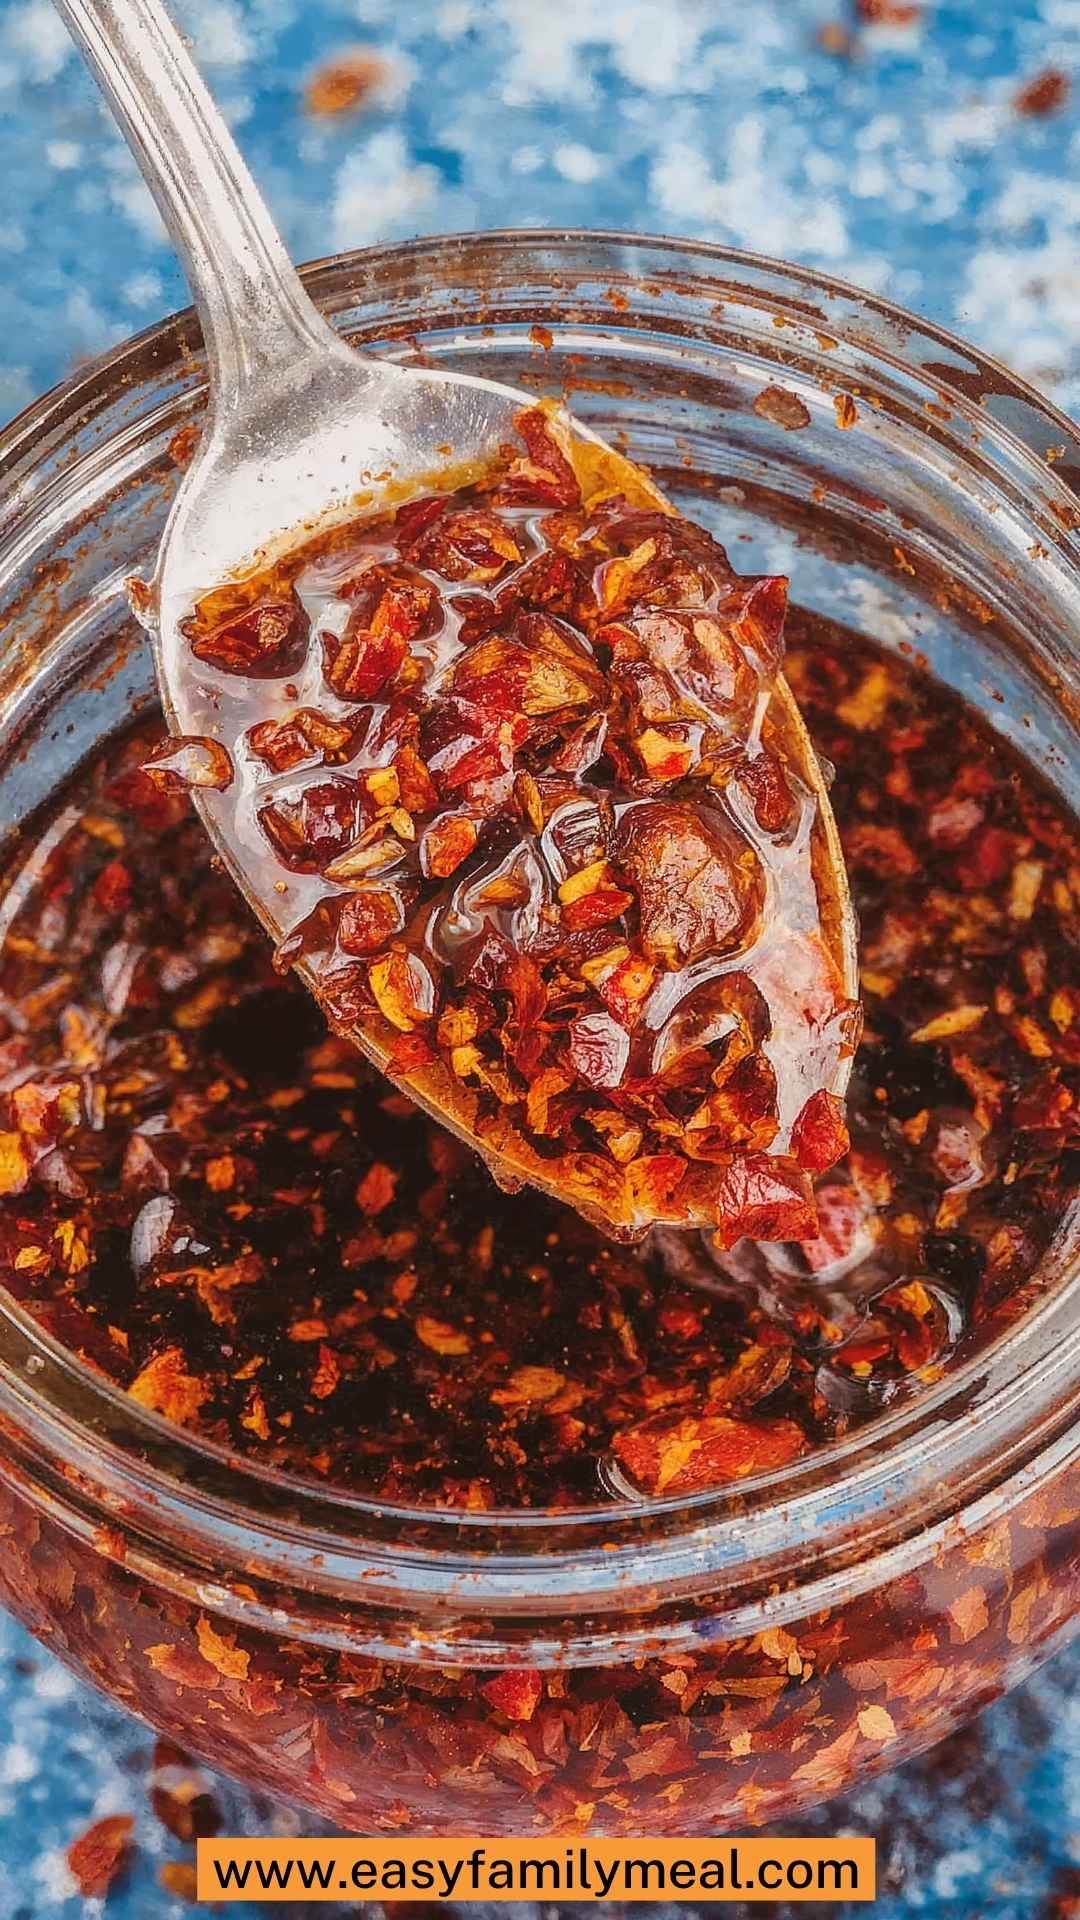
Making homemade spicy chili crisp is a journey worth taking. The creative process, infused with fresh ingredients and exciting flavors, creates a condiment that can bring any dish to life. It’s more than just a spicy sauce; it’s a way to enhance meals and share love through food.
From personal experience, the joy of having a jar of freshly made chili crisp on hand is unmatched. When you’re hungry and in need of an extra kick, simply reach for it. Serve it over rice, toss it in a noodle dish, or use it to liven up roasted vegetables. You’ll discover just how versatile this homemade addition can be.
In a world of bland and lifeless condiments, let your chili crisp shine! It’s not just about heat—it’s about flavor, texture, and the delight that comes with every delicious bite. Get ready to spice things up in your kitchen and enjoy the wonderful adventure that homemade chili crisp brings to your culinary experience!
You’ll also like the following recipes!
- Sweet and Sour Sauce
- The Ultimate Baked Potato Recipe
- Butterflied Roasted Chicken With Quick Jus Recipe

Homemade Spicy Chili Crisp – Easy Family Meal
Description
Welcome to the world of homemade spicy chili crisp, where flavors meet fire, and umami reigns supreme!
As someone who's navigated the chili crisp landscape for years, I can assure you that this recipe is a winner. Whether you’re a heat enthusiast or just starting to dip your toes into the spicy waters, this chili crisp is your friend.
Imagine standing in your kitchen with the tantalizing aroma of garlic and chili dancing in the air, your mouth watering at the thought of all the ways to use this spicy condiment. You’ll want to keep a jar on hand at all times. With just the right balance of heat, crunch, and rich flavor, this chili crisp is bound to become your go-to pantry staple.
Ingredients
Instructions
Step 1: Gather Your Ingredients
-
Start by gathering all the ingredients. Having everything ready makes the cooking process much smoother.
Step 2: Prepare the Garlic and Shallots
-
Roughly chop your garlic and shallots. This doesn’t need to be perfect; we’re going for flavor!
Step 3: Heat Your Oil
-
In a saucepan, heat the oil over medium heat. Once the oil is warm, reduce the heat to low. You don’t want to scorch your garlic.
Step 4: Add Garlic and Shallots
-
Slowly add the chopped garlic and shallots to the oil. Cook them gently for about 5-7 minutes until they’re golden brown. Stir occasionally to prevent burning.
Step 5: Mix in Peppers and Seasonings
-
Once your garlic and shallots are golden, it’s time to mix in the serrano peppers and red chili flakes. Let this mixture simmer for another minute. The aim here is to let the flavors meld without losing that fresh garlic taste.
Step 6: Add Soy Sauce and Paprika
-
Stir in the soy sauce, smoked paprika (or your chosen seasoning), sugar, and peppercorns. Allow the mixture to cook for another minute.
Step 7: Cool and Store
-
After everything is combined and cooked, remove the pan from the heat. Let the chili crisp cool down a bit before transferring it to a jar. This delightfully fiery condiment can be stored in your refrigerator for weeks— if it lasts that long!
Nutrition Facts
Servings 32
- Amount Per Serving
- Calories 80kcal
- % Daily Value *
- Total Fat 9g14%
- Total Carbohydrate 2g1%
- Protein 1g2%
* Percent Daily Values are based on a 2,000 calorie diet. Your daily value may be higher or lower depending on your calorie needs.
Note
- Experiment with Spice Levels: Adjust the amount of chili flakes to suit your heat preference.
- Consider Your Oil: Peanut oil gives a unique flavor, but you can use any neutral oil you enjoy.
- Watch the Heat: Keep the temperature low when frying the garlic. Burnt garlic can ruin the flavor.
- Storage Container: Use a glass jar to store your chili crisp; it keeps flavors intact better than plastic.
- Enjoy it Fresh: For the best flavor, use your chili crisp within a month.


