Before diving into the story of oyakodon, let’s chat about some fantastic pairings for this delightful dish. Oyakodon is perfect with a side of miso soup; its rich umami flavors enhance the experience. A refreshing cucumber salad also does wonders, adding a crunch that offsets the creamy texture of the egg. Don’t forget about pickled vegetables to bring a zing that balances the dish beautifully.
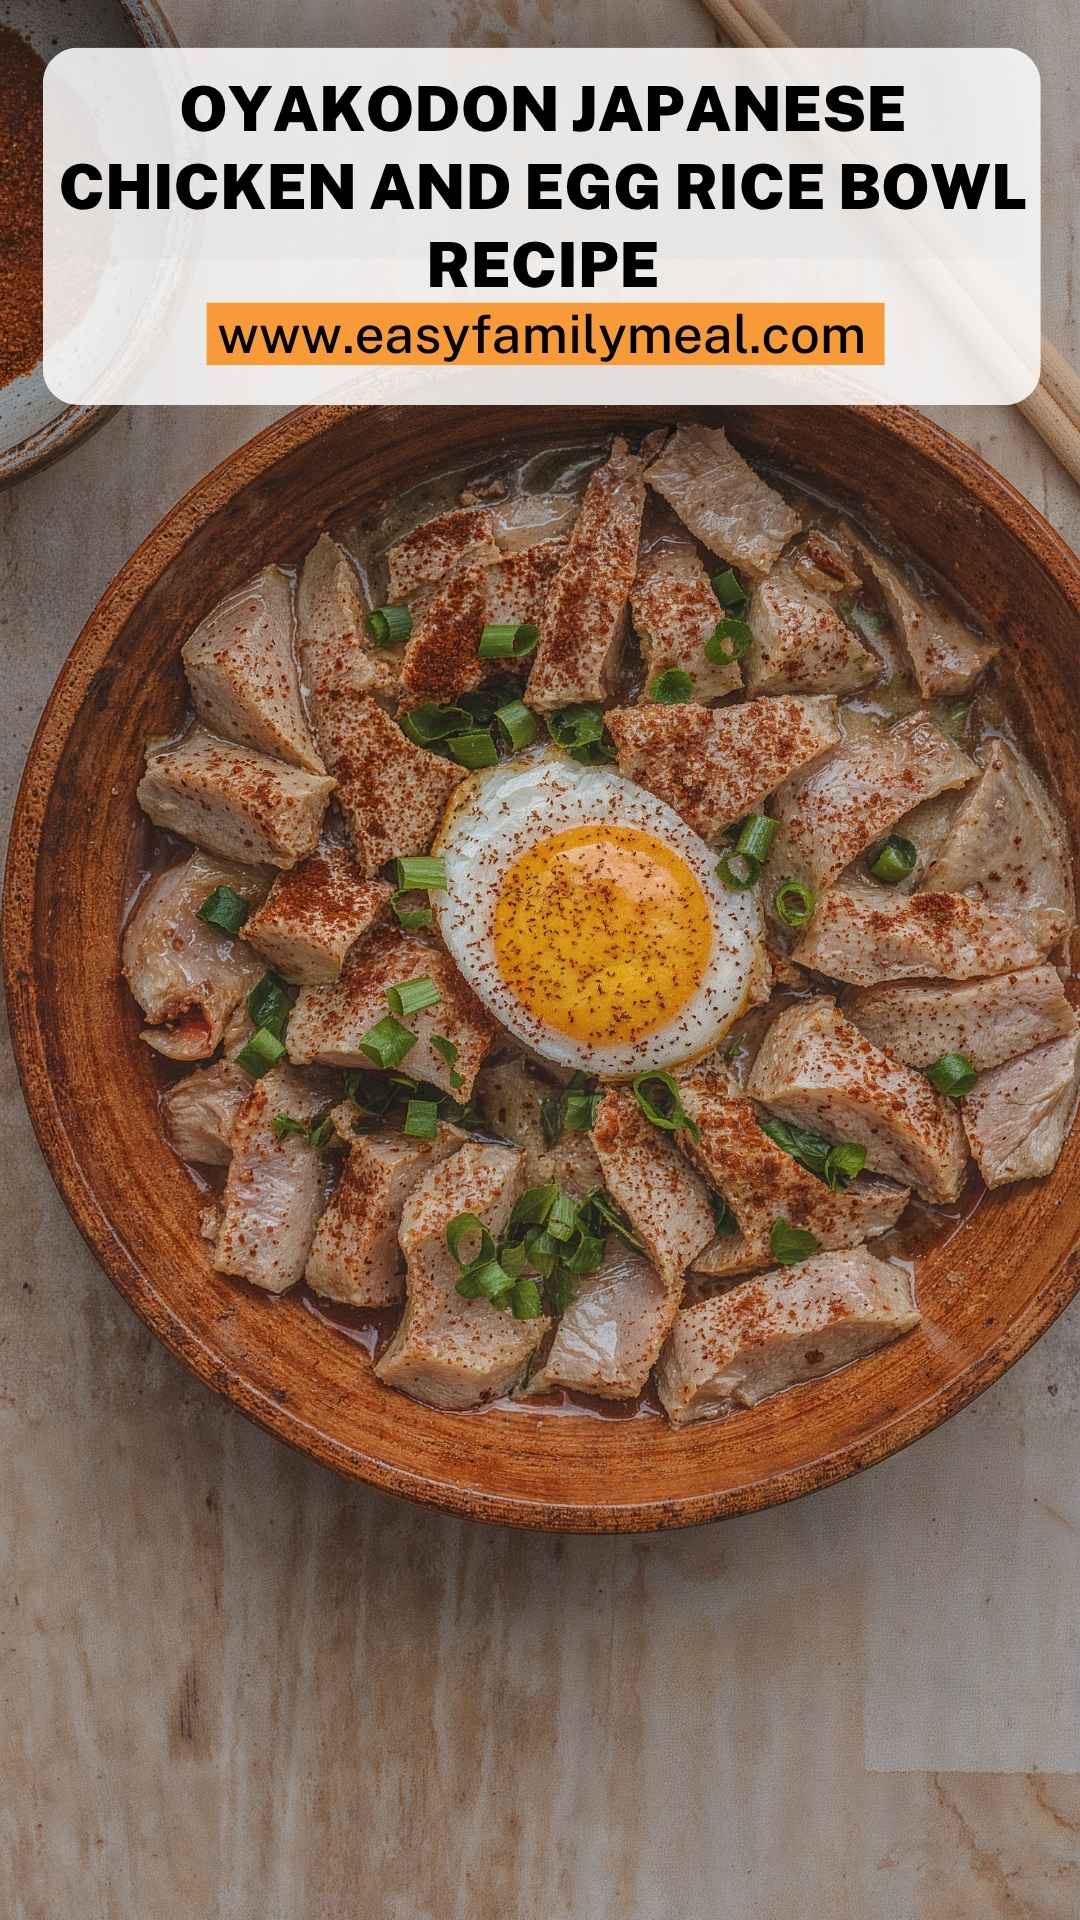
What is Oyakodon?
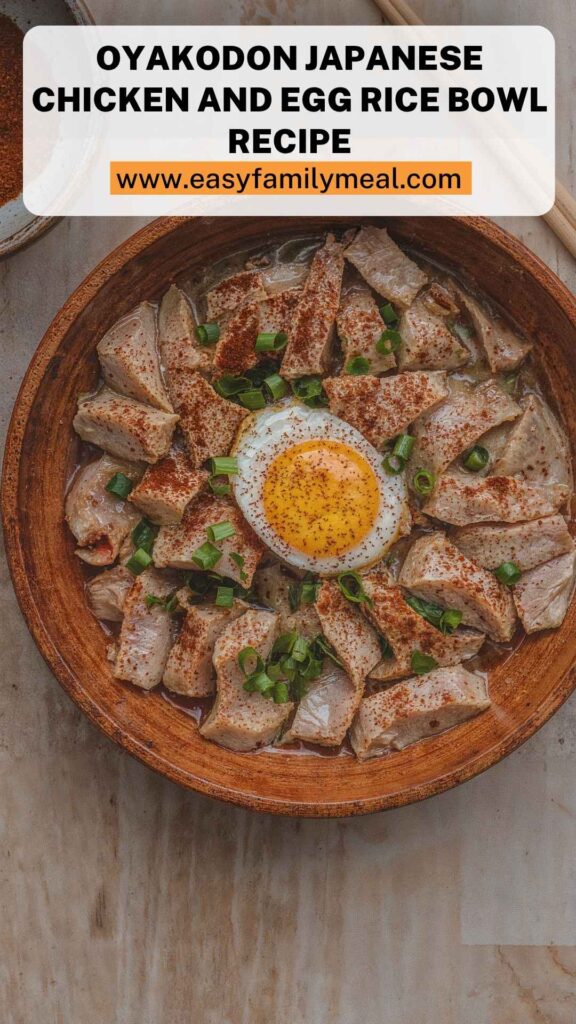
Oyakodon, translating to “parent-and-child bowl,” features chicken (the parent) and eggs (the child) simmered together and served over a bed of rice. The beauty of oyakodon lies in its simplicity and the harmony of flavors. Each bite delivers comfort, warmth, and a nostalgia that can transport you anywhere.
Why This Recipe Works
1. Quick and Simple:
Perfect for busy weeknights, this dish can be ready in thirty minutes or less. The prep is easy, and cooking doesn’t take long at all.
2. Flavorful Balance:
The combination of chicken, eggs, and dashi broth creates a delicious umami flavor profile, making every bite satisfying without being overwhelming.
3. Customizable:
You can tweak the recipe to fit your preferences. Want more veggies? Toss in some mushrooms or spinach. Prefer a bit of heat? Add a dash of shichimi togarashi.
4. One-Pan Wonder:
All ingredients come together in one pan, minimizing cleanup and maximizing flavor. Who doesn’t love less time washing up?
Ingredients You’ll Need To Make This Dish
To whip up the perfect oyakodon, gather the following ingredients:
- 1 large yellow onion (about 6 ounces / 170 g), thinly sliced into crescents
- 3 to 4 large eggs, gently beaten (see note for texture tips)
- 3 scallions, trimmed and finely sliced on a bias, whites and greens separated
- ½ teaspoon sesame oil (adds nutty flavor)
- 2 tablespoons (30 ml) dry Japanese sake (for depth)
- 1 tablespoon (15 ml) naturally brewed soy sauce plus more to taste
- 12 ounces (340 g) boneless, skinless chicken thighs or breast, thinly sliced for tenderness
- 1 teaspoon mirin (for subtle sweetness)
- 1 tablespoon (15 g) cane sugar or white sugar
- 1 cup (240 ml) homemade or high-quality instant dashi broth
To Serve:
- 2 cups freshly steamed white rice (short-grain Japanese rice preferred)
- Togarashi or shichimi spice blend (optional)
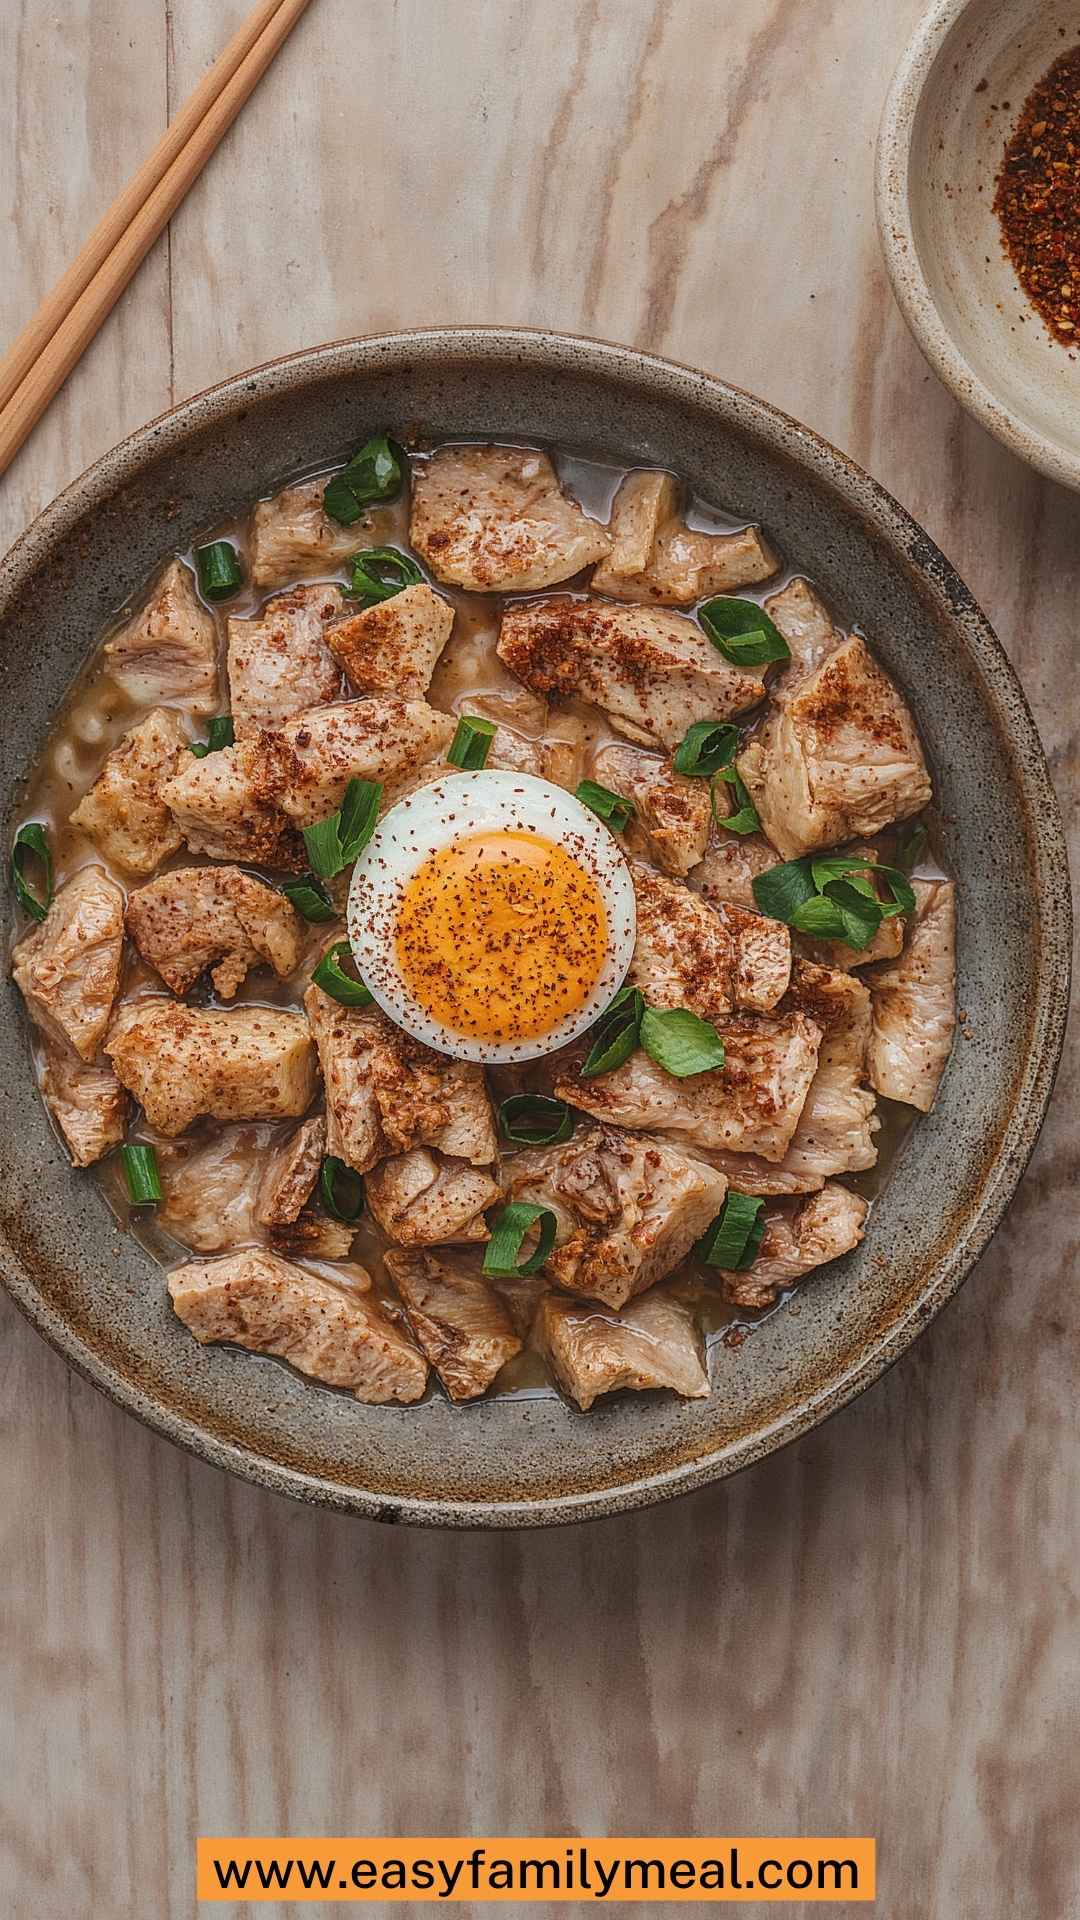
How To Make This Oyakodon Chicken and Egg Rice Bowl?
Step 1: Prepare Your Ingredients
Start by slicing your onion and chicken into thin pieces. Ensure you have all your ingredients measured out. This makes the cooking process smoother.
Step 2: Sauté Onions
In a large pan, heat ½ teaspoon of sesame oil over medium heat. Add the sliced onions. Sauté for about 3-5 minutes, or until they soften and start to caramelize.
Step 3: Cook the Chicken
Add the chicken to the pan. Cook it alongside the onions until it turns golden brown and is no longer pink, about 5-7 minutes. The flavors meld beautifully as the chicken cooks.
Step 4: Add Seasonings
Pour in the sake and dashi broth. Stir in the soy sauce, mirin, and sugar. Simmer for another 5 minutes, allowing the mix to thicken slightly. This is where the magic happens.
Step 5: Add the Eggs
Reduce the heat and pour the beaten eggs over the chicken mixture. Cover the pan with a lid and let it cook undisturbed for around 3-4 minutes. You want the eggs to set but remain soft and gently cooked.
Step 6: Prepare the Rice
While the chicken and eggs simmer, prepare your rice. Ideally, you want it freshly steamed and ready to serve.
Step 7: Assemble Your Bowl
Spoon the chicken and egg mixture over a bed of rice. Garnish each bowl with sliced scallion greens for a final touch of color and freshness.
Tips & Tricks
Choose the Right Chicken: Chicken thighs offer more flavor and retain moisture better than breasts. If you prefer breast meat, ensure it’s thinly sliced.
Adjust the Thickness: If you want a thicker sauce, let it simmer longer. For a lighter consistency, add more dashi broth.
Don’t Stir After Adding Eggs: Let the eggs cook without stirring for that beautiful silky texture. Covering the pan helps create steam for even cooking.
Use Fresh Ingredients: Fresh eggs and quality chicken make a big difference in taste. It’s worth investing here.
Customize Toppings: Depending on your liking, consider adding nori, pickled ginger, or radishes to enhance flavor and texture.
How Do You Store The Leftovers?
If you happen to have leftovers (though I doubt it!), store them in an airtight container in the refrigerator. It can last for about 2 days. When you’re ready to enjoy it again, reheat it gently on the stove. Keep in mind that rice can become dry, so you might want to add a bit of dashi or water while reheating.
Sides that Complement Oyakodon
Pairing oyakodon with sides can elevate your meal. Consider these options:
1. Miso Soup:
A classic side that adds warmth and depth. Its umami flavor pairs excellently with the chicken and egg.
2. Tsukemono (Pickled Vegetables):
The tangy crunch of pickled veggies provides a delightful contrast to the creamy rice bowl.
3. Steamed Broccoli or Spinach:
A quick side of steamed greens brings a splash of color and nutrients while balancing the dish’s heavier elements.
What Alternatives Can You Use for the Ingredients?
Not every kitchen has every ingredient on hand. Here are some alternatives you can try:
1. Chicken Alternatives
Use tofu or tempeh instead of chicken for a vegetarian option. These protein sources can absorb the flavors well.
2. Alternative Broth
If you can’t find dashi, chicken or vegetable broth can work as a substitute. Just adjust the seasoning to maintain flavor.
3. Vinegar for Mirin
If you don’t have mirin, a splash of rice vinegar mixed with a teaspoon of sugar can mimic its sweetness.
4. Store-bought Broths
In a time crunch? High-quality instant dashi or chicken broth can save you prep time while still delivering flavor.
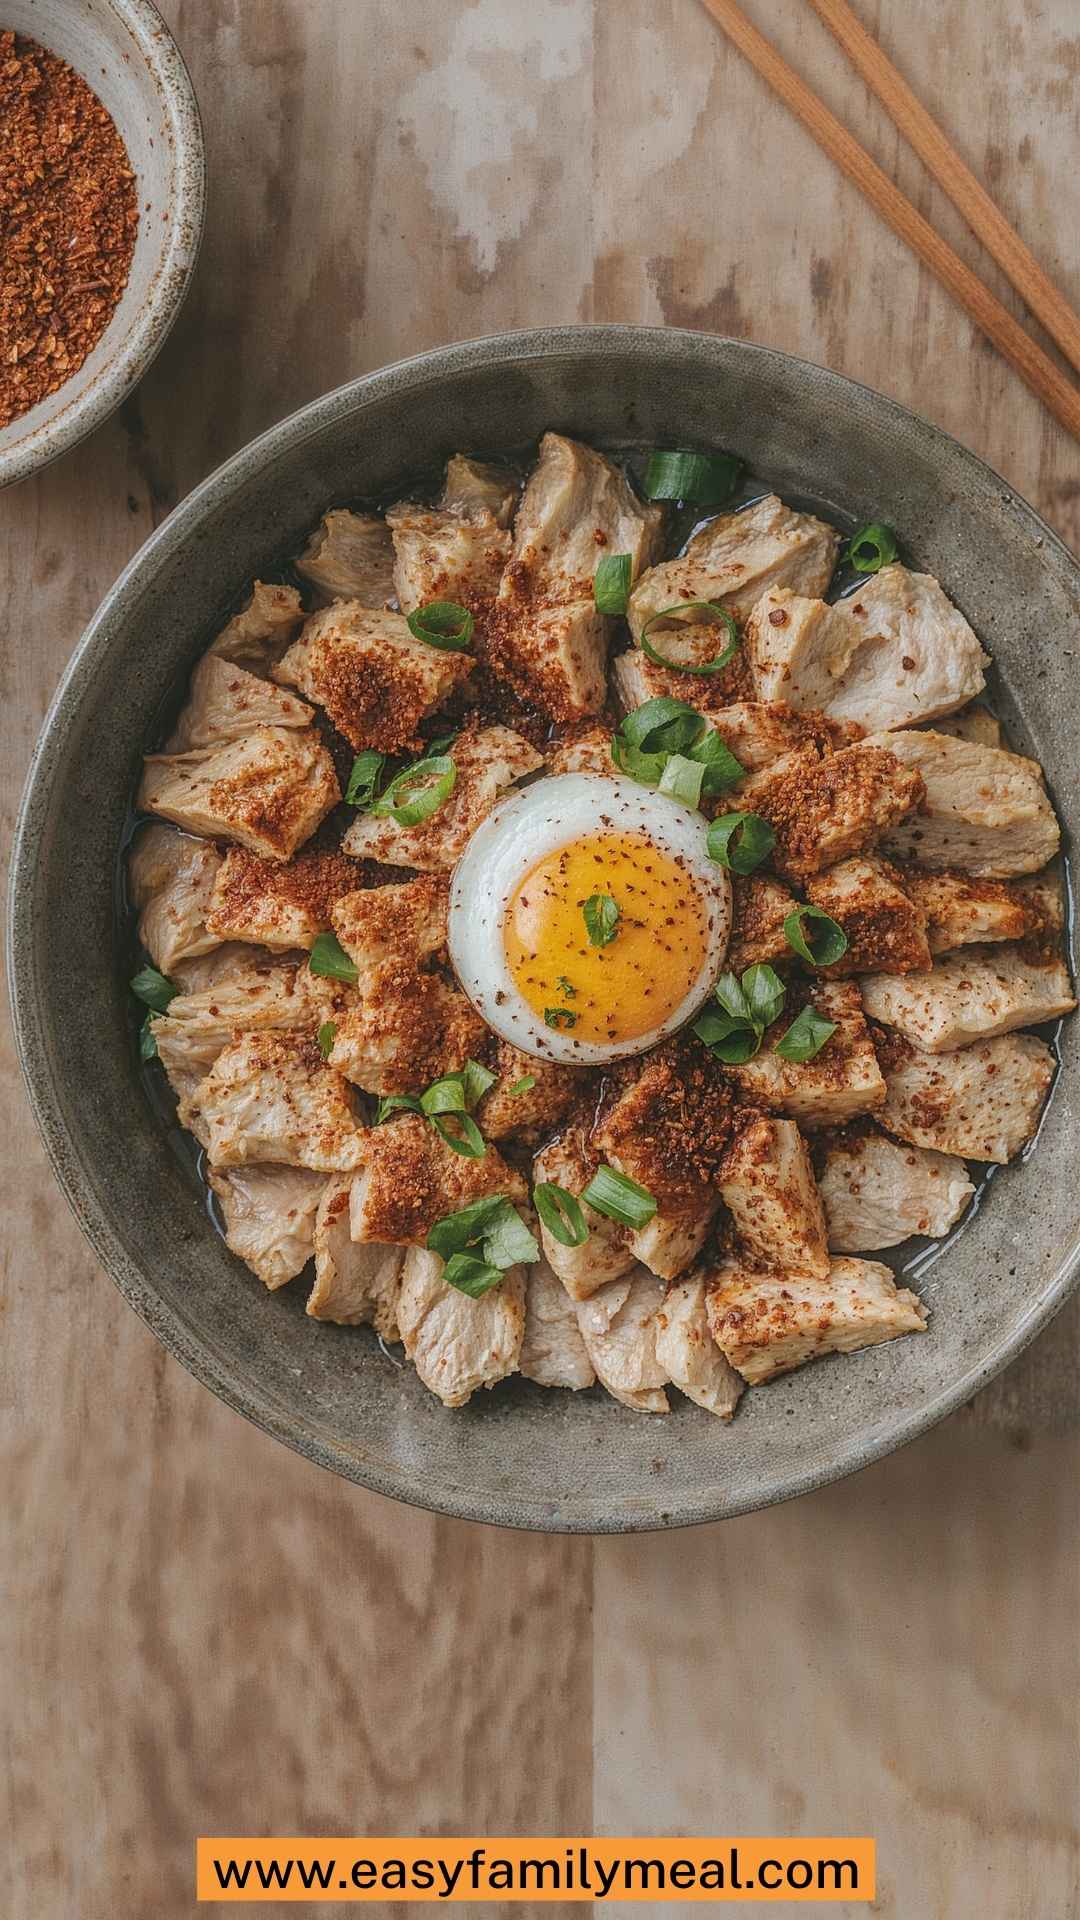
Conclusion
Oyakodon is more than just a meal; it’s an experience steeped in tradition and comfort. Each element, from the tender chicken to the luscious eggs, dances together with the rice. It’s an excellent choice for a family dinner or a cozy night in. By following the steps outlined above and using the tips shared, you’ll create a dish that not only satisfies but also evokes the warmth of a home-cooked meal. So grab those ingredients, and let’s get cooking!
You’ll also like the following recipes!
- The Best Basic Guacamole Recipe
- The Best Slow Cooked Italian American tomato Sauce Red Sauce Recipe
- Singapore Curry Noodles Stir Fry Recipe
Oyakodon Japanese Chicken And Egg Rice Bowl Recipe – Easy Family Meal
Description
Imagine a bustling izakaya in Tokyo. The aroma of grilled meats wafts through the air, and laughter fills the space. Among the chatter, people are enjoying bowls of warm oyakodon. This comfort food isn’t just a meal; it’s a hug in a bowl, combining tender chicken, silky eggs, and fluffy rice. When I first tasted this dish on a trip to Japan, I was instantly smitten. The experience was more than just flavor; it felt like home, like sharing a meal with family.
Ingredients
To Serve:
Instructions
Step 1: Prepare Your Ingredients
-
Start by slicing your onion and chicken into thin pieces. Ensure you have all your ingredients measured out. This makes the cooking process smoother.
Step 2: Sauté Onions
-
In a large pan, heat ½ teaspoon of sesame oil over medium heat. Add the sliced onions. Sauté for about 3-5 minutes, or until they soften and start to caramelize.
Step 3: Cook the Chicken
-
Add the chicken to the pan. Cook it alongside the onions until it turns golden brown and is no longer pink, about 5-7 minutes. The flavors meld beautifully as the chicken cooks.
Step 4: Add Seasonings
-
Pour in the sake and dashi broth. Stir in the soy sauce, mirin, and sugar. Simmer for another 5 minutes, allowing the mix to thicken slightly. This is where the magic happens.
Step 5: Add the Eggs
-
Reduce the heat and pour the beaten eggs over the chicken mixture. Cover the pan with a lid and let it cook undisturbed for around 3-4 minutes. You want the eggs to set but remain soft and gently cooked.
Step 6: Prepare the Rice
-
While the chicken and eggs simmer, prepare your rice. Ideally, you want it freshly steamed and ready to serve.
Step 7: Assemble Your Bowl
-
Spoon the chicken and egg mixture over a bed of rice. Garnish each bowl with sliced scallion greens for a final touch of color and freshness.
Nutrition Facts
Servings 2
- Amount Per Serving
- Calories 2172kcal
- % Daily Value *
- Total Fat 134.1g207%
- Saturated Fat 101.9g510%
- Cholesterol 318mg106%
- Sodium 1070mg45%
- Total Carbohydrate 199g67%
- Dietary Fiber 9g36%
- Sugars 13g
- Protein 40g80%
* Percent Daily Values are based on a 2,000 calorie diet. Your daily value may be higher or lower depending on your calorie needs.
Note
- Choose the Right Chicken: Chicken thighs offer more flavor and retain moisture better than breasts. If you prefer breast meat, ensure it’s thinly sliced.
- Adjust the Thickness: If you want a thicker sauce, let it simmer longer. For a lighter consistency, add more dashi broth.
- Don’t Stir After Adding Eggs: Let the eggs cook without stirring for that beautiful silky texture. Covering the pan helps create steam for even cooking.
- Use Fresh Ingredients: Fresh eggs and quality chicken make a big difference in taste. It’s worth investing here.
- Customize Toppings: Depending on your liking, consider adding nori, pickled ginger, or radishes to enhance flavor and texture.


