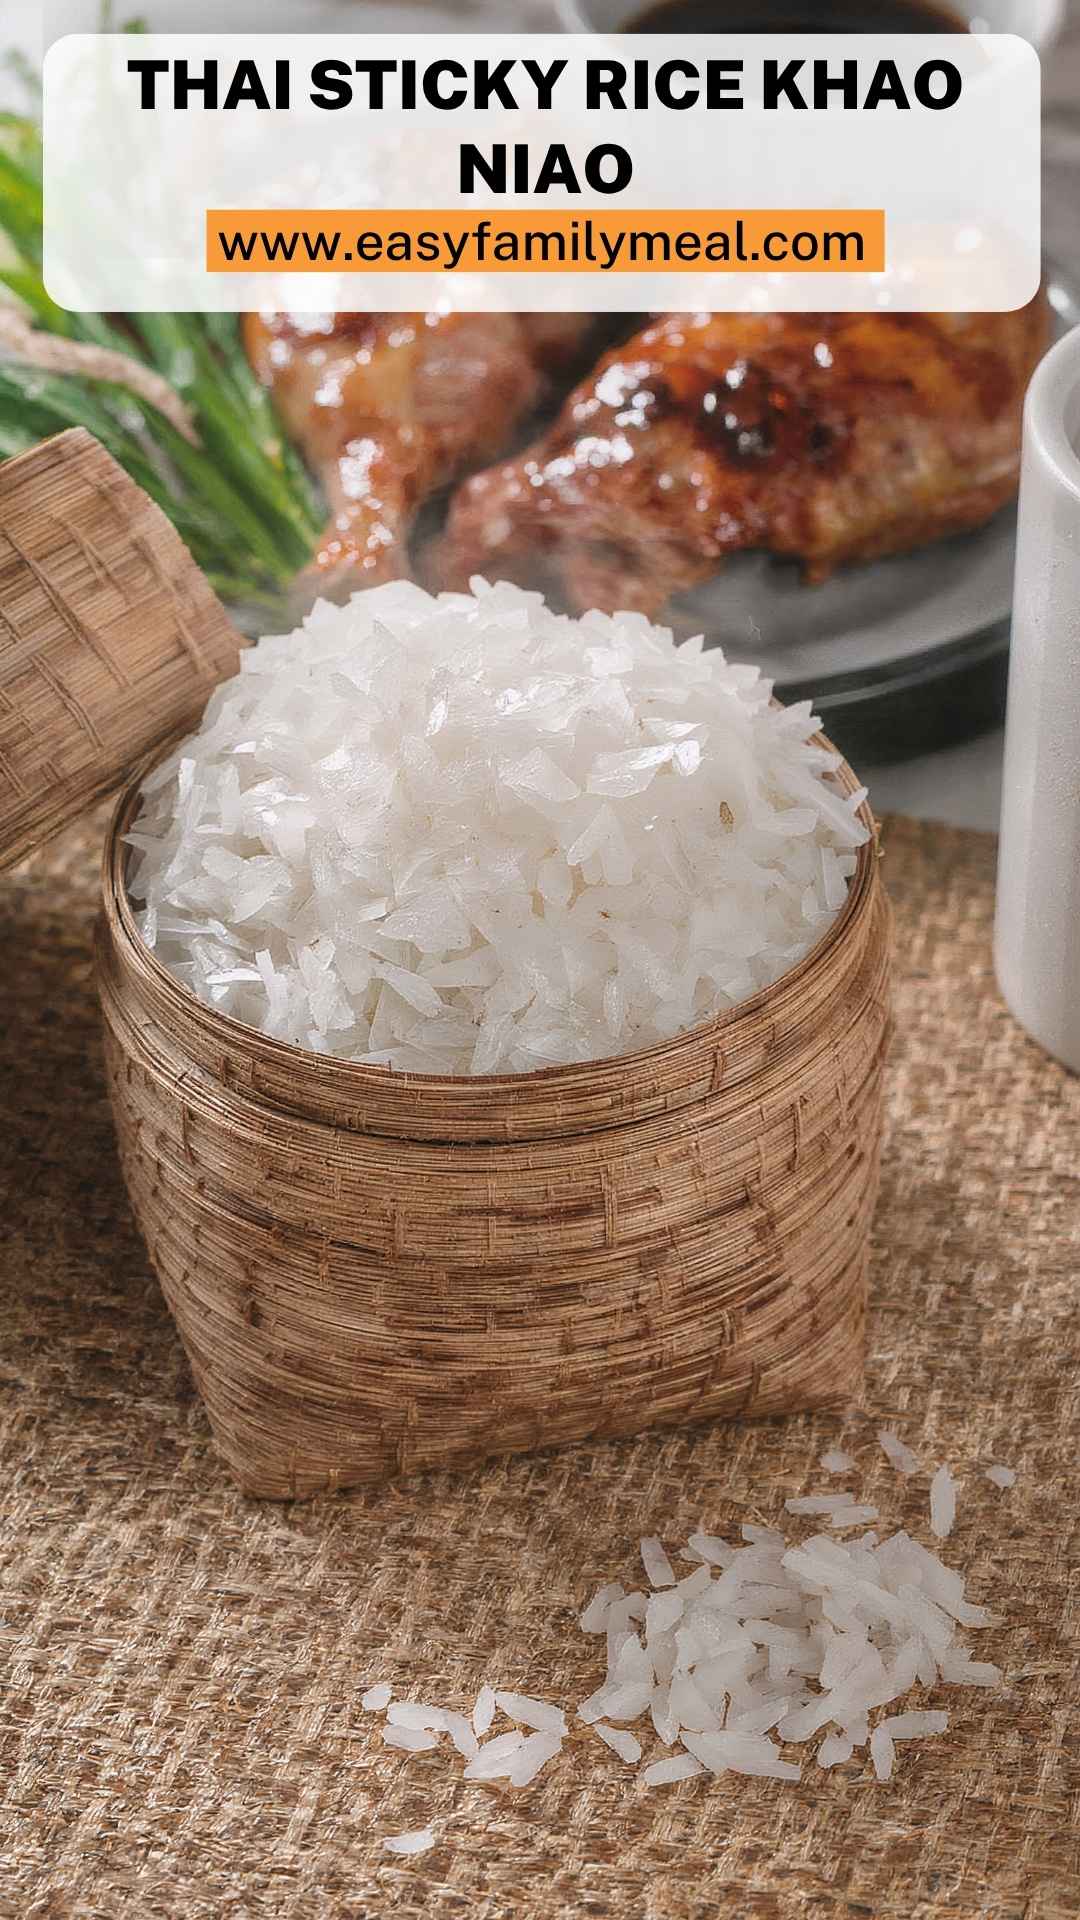
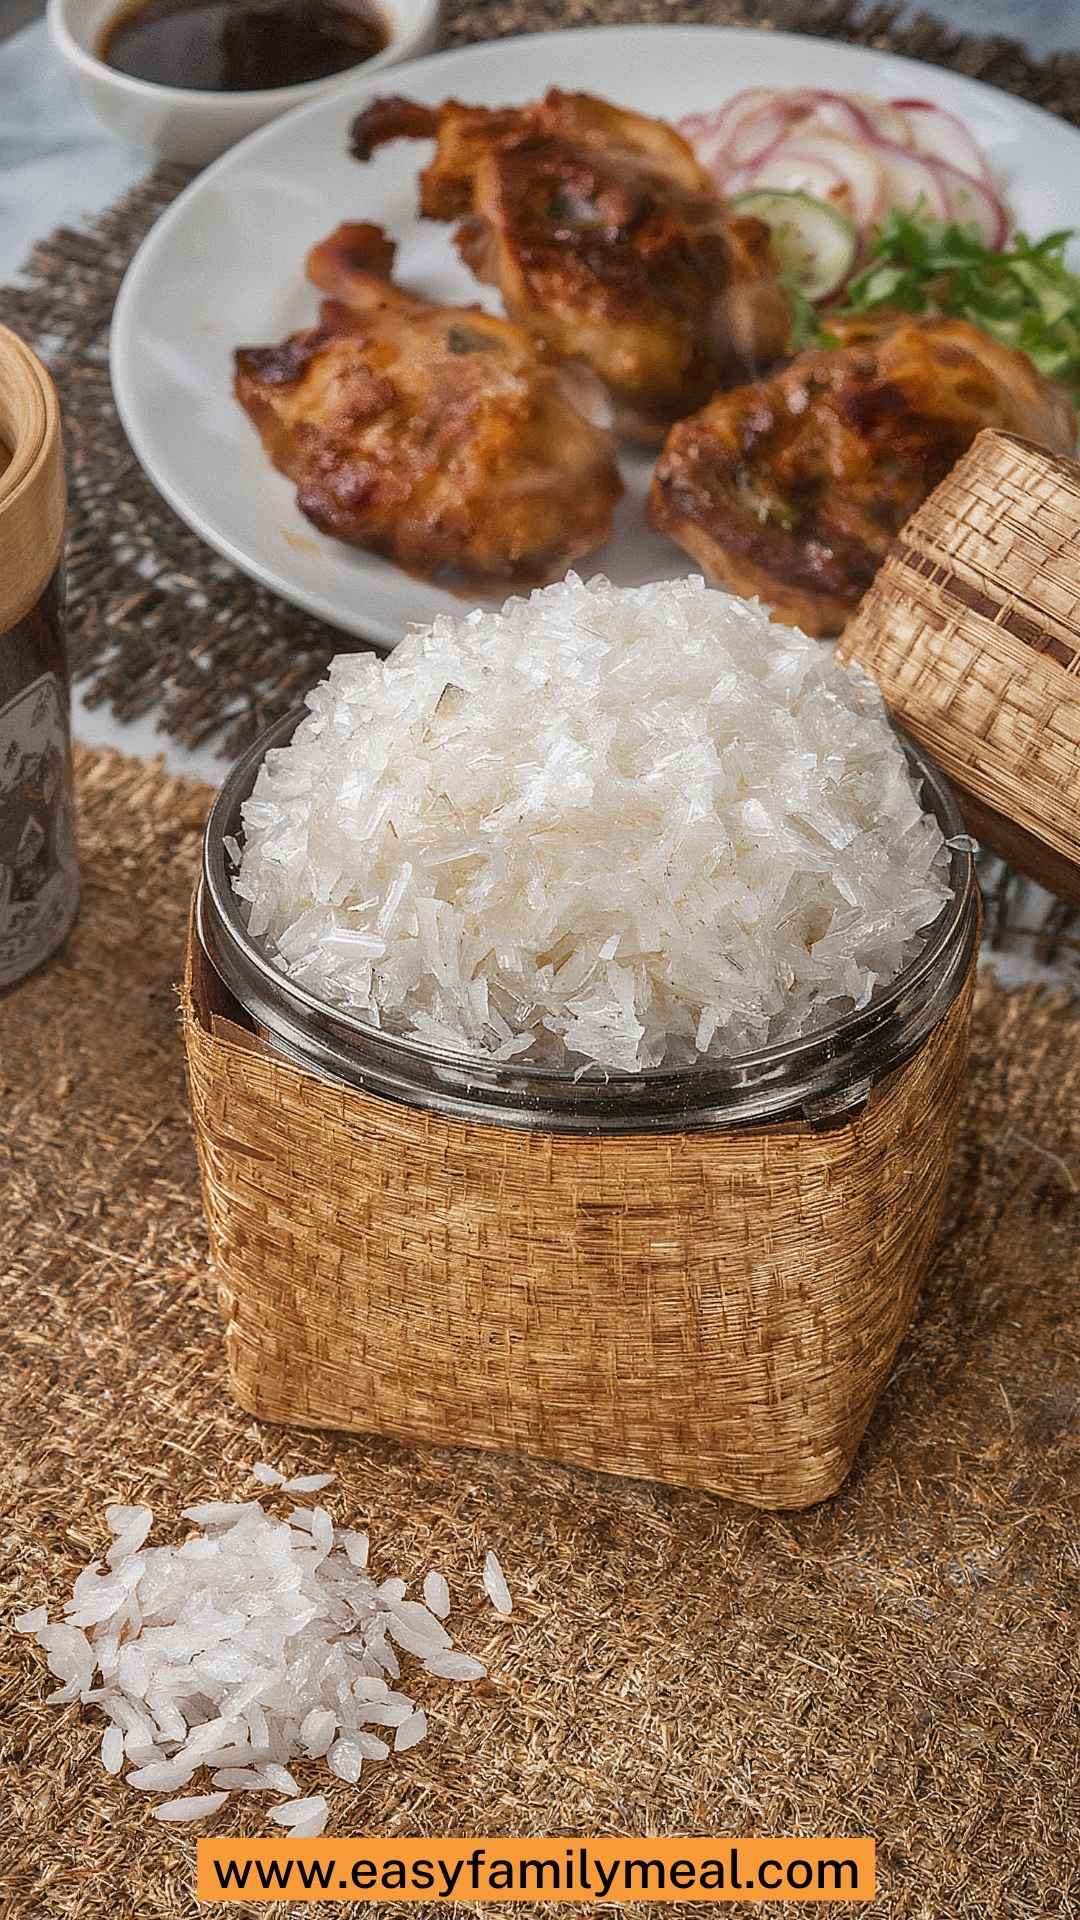
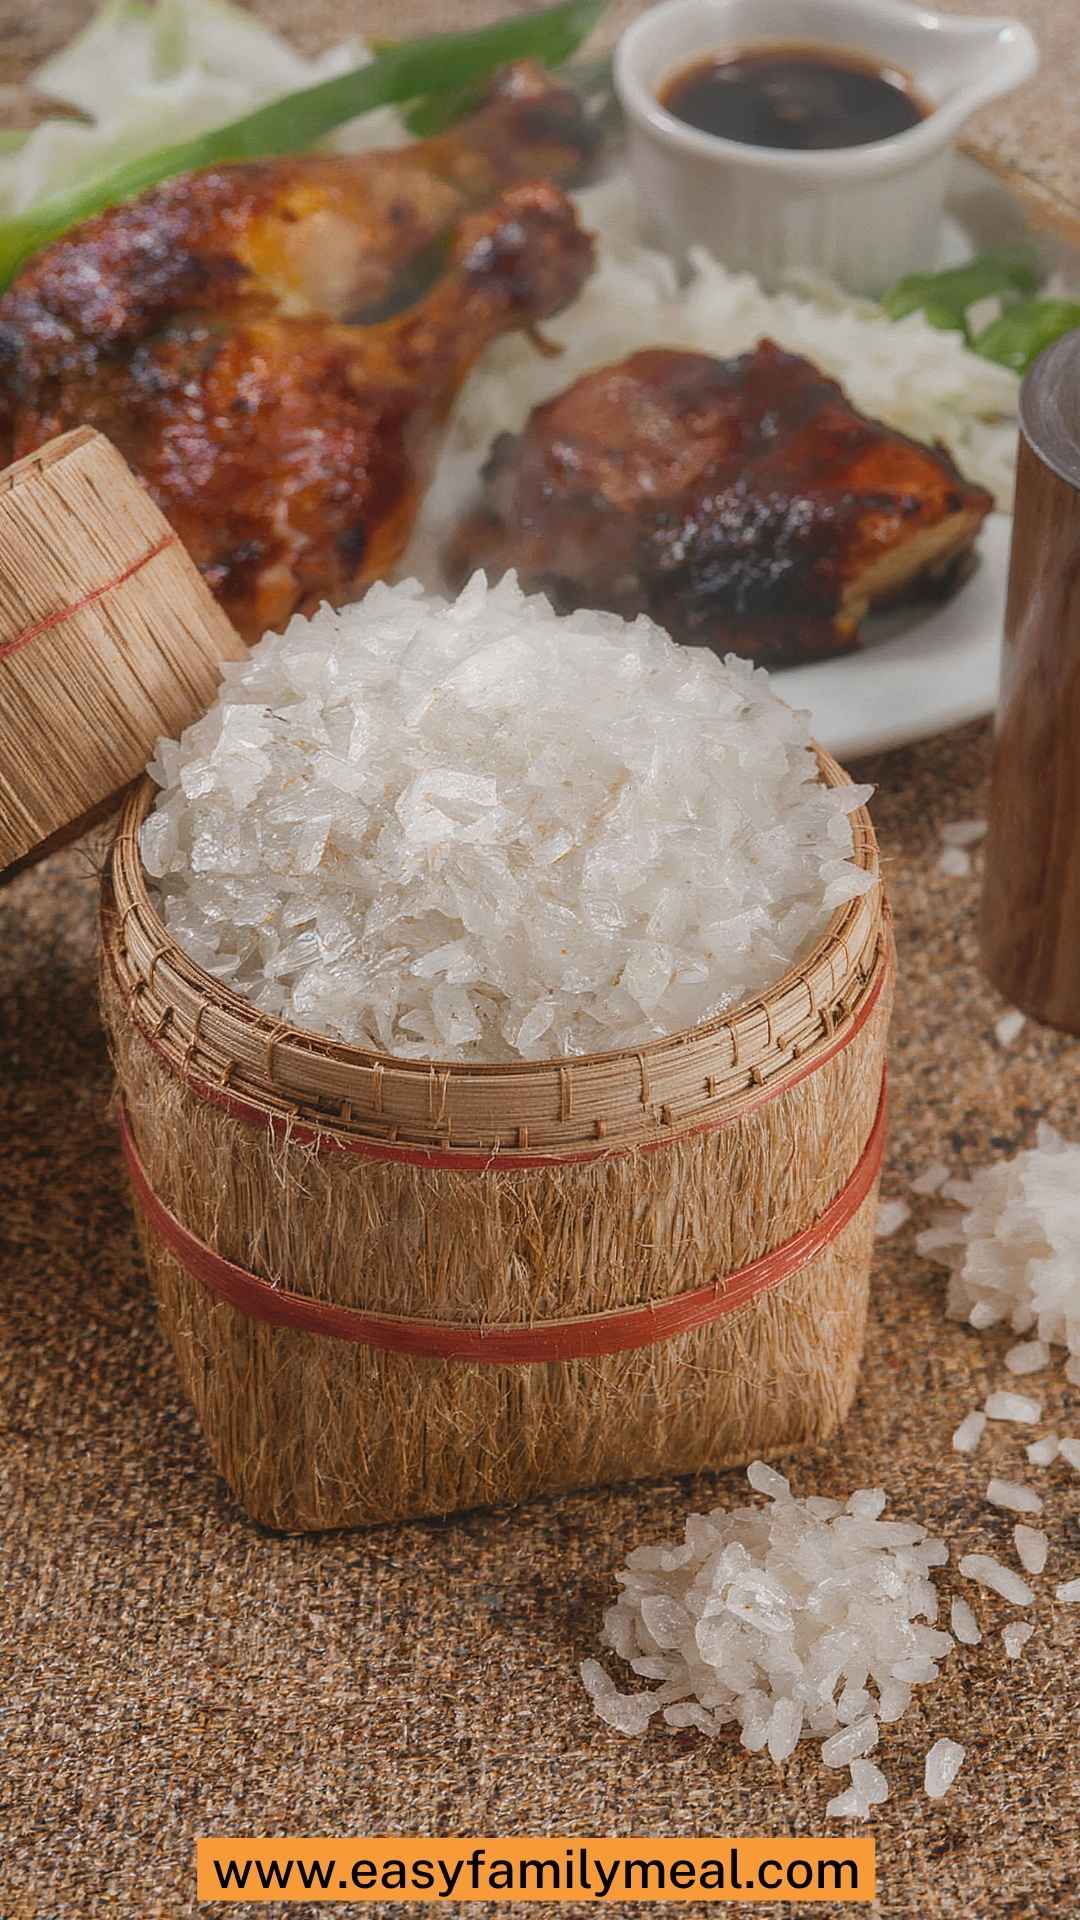
When it comes to Thai cuisine, few dishes encapsulate the total experience quite like khao niao, or Thai sticky rice. This simple yet satisfying dish serves as the basis for many wonderful flavor pairings. Have you tried it with mango, where the sweetness plays beautifully against the rice’s subtle flavor?
Or perhaps you’ve enjoyed it with a spicy dipping sauce, where the coolness of the rice balances the heat? Today, I invite you to embark on a journey of flavors, textures, and history as we explore the exciting world of khao niao.

Why This Recipe Works
There are multiple reasons why khao niao is a must-try dish, and each adds a layer of depth and excitement.
1. Versatile Pairings: Thai sticky rice is a blank canvas. You can pair it with so many dishes, from sweet to savory. The beauty lies in its adaptability.
2. Unique Texture: The chewy, sticky texture of glutinous rice is a game changer. It clings together, making it easy to pick up with chopsticks or form into small balls.
3. Easy to Prepare: With just a few ingredients and simple steps, it’s an accessible dish for both novice and seasoned cooks.
4. Rich Cultural Heritage: Thai sticky rice is more than just a recipe; it’s part of the culinary traditions in Thailand. Each bite connects you to Thai culture and dining experiences.
How Does It Taste?
Picture this: You take a bite and the slightly sweet, chewy rice envelops your taste buds. It’s filling yet not overwhelming. The flavor is mild, allowing whatever you pair it with to shine through.
When paired with ripe mango, the rice’s texture enhances the fruit’s juiciness. Alternatively, serve it with grilled meats, and you’ll find its sweetness provides a wonderful counterpoint to spices and heat. It’s both comforting and emotionally satisfying, making it perfect for any meal.
What Sets This Recipe Apart?
While many variations of sticky rice exist, my recipe shines through its simplicity and authenticity. Using only the finest ingredients ensures that you capture the dish’s true essence.
Glutinous rice, when prepared correctly, provides that sought-after texture and flavor. Many recipes miss out on the soaking time vital for perfect rice; this step is non-negotiable if you want that optimal chewiness.
The Ingredients
To whip up some delightful khao niao, you’ll need:
- 3 cups sticky glutinous rice (also known as sweet rice; vital for the perfect chewy texture)
- 1/2 teaspoon sea salt (optional, but enhances the natural flavor)
- 4 1/2 cups room-temperature water (used to soak the rice until it becomes plump and tender)
- 2 tablespoons coconut milk (optional, for a subtle creamy finish)

Instructions
Now, let’s get into the cooking process. Trust me; it’s simpler than it sounds.
Step 1: Rinse the Rice
First, rinse the glutinous rice in cold water. This helps to remove excess starch. You want to gently agitate the rice with your fingers, swishing it around in a bowl. Drain and repeat this process two or three times until the water is almost clear.
Step 2: Soak the Rice
Next, place the rinsed rice in a large bowl. Cover it with room-temperature water and let it soak for at least 8 hours or overnight. This step is crucial for achieving the right texture. It allows the rice to absorb water and swell.
Step 3: Drain and Prepare the Steamer
After soaking, drain the rice. Get a steaming basket lined with cheesecloth or banana leaves, if available. If using banana leaves, be sure to cut them to fit your steamer. Place the rice inside, spreading it out evenly.
Step 4: Steam the Rice
Set up your steamer over boiling water. Steam the rice for about 20 to 30 minutes. You will know it’s done when each grain is chewy and glossy. It should be somewhat sticky but not hard or dry. If you’re using coconut milk, drizzle it over the rice during the last few minutes of steaming to infuse it with rich flavor.
Step 5: Serve
Once the rice is cooked, remove it from the steamer. You can mound it onto a serving platter or form it into small balls. Serve with fresh mango, spicy dipping sauces, grilled meats, or as part of a larger Thai feast.
Notes
Here are some handy tips to elevate your sticky rice game:
- Soaking Time is Key: If you want the best texture, do not skip the soaking step.
- Use Quality Ingredients: Opt for high-quality glutinous rice. The taste and texture differ significantly from regular rice.
- Experiment with Coconut Milk: Adjust the amount of coconut milk for richness to your liking.
- Steamer Setup: Make sure your pot has a tight lid to retain steam for even cooking.
- Serve Immediately: Sticky rice tastes best when freshly made. But, it can be reheated later if necessary.
Nutrition Information
A serving of Thai sticky rice provides a decent amount of carbohydrates for energy. Here’s roughly what you get per serving (1/2 cup):
- Calories: 175
- Carbohydrates: 36g
- Protein: 3g
- Fat: 0.5g
- Fiber: 1g
Keep in mind that these values can vary based on specific ingredients and preparation methods.
How Do You Store Thai Sticky Rice?
Sticky rice can be stored in an airtight container in the refrigerator for up to a week. When ready to eat, you can reheat it in the microwave or by steaming it briefly to restore its original texture. If you find yourself with excess, freezing is also a valid option. Make sure it’s cooled completely before storing it in freezer-safe packaging.
Sides for Thai Sticky Rice
To truly enjoy khao niao, consider these excellent accompaniments:
- Thai Mango: Sweet ripe mango adds brightness and contrasting texture. Cut it into bite-sized pieces and serve alongside the rice.
- Grilled Chicken Satay: Marinated chicken skewers grilled to perfection, served with a peanut sauce. The flavors are enhanced when combined with sticky rice.
- Pork Skewers: Grilled skewered pork adds savory depth and a wonderful caramelization that complements the rice nicely.
What Alternatives Can You Use for the Ingredients?
Not all of us have every ingredient on hand at all times. Here are some alternatives you can use:
- Glutinous Rice: Look for sweet rice or “mushi” rice if glutinous rice isn’t available. Regular short-grain rice can work, but the texture will differ.
- Coconut Milk: If you don’t have coconut milk, you might try almond milk mixed with a touch of butter for creaminess.
- Sea Salt: Regular table salt can substitute for sea salt, just adjust the amount to taste.
- Banana Leaves: If banana leaves aren’t available, simply use a heat-safe steaming basket lined with cheesecloth or even parchment paper.

Conclusion
Thai sticky rice, or khao niao, is so much more than just a side dish. It’s a canvas for creativity and a connection to the rich flavors of Thai dining. Whether you enjoy it with sweet mango or spicy pork satay, sticky rice brings people together.
The steps to creating it are simple, and with practice, you will find yourself whipping it up in no time. Now, armed with this knowledge, go ahead and bring that stunning Thai experience to your home cooking. Happy cooking!
You’ll also like the following recipes!
- Oven Barbecue Ribs Recipe
- Grilled Chicken Tikka Masala
- Tonkatsu Chicken Pork Katsu Japanese Breaded Cutlets Recipe

Thai Sticky Rice Khao Niao – Easy Family Meal
Description
I still remember my first encounter with this delightful dish. I was strolling through a bustling Asian market, the aroma of spices wafting through the air. A friendly vendor offered me a small, warm mound of sticky rice served with mango.
One bite, and I was hooked. Khao niao is more than just rice; it’s a centerpiece that draws people together, whether it's a street food stall or a family gathering. Let’s dive into the story behind this dish and why it deserves a place on your kitchen table.
Ingredients
Instructions
Step 1: Rinse the Rice
-
First, rinse the glutinous rice in cold water. This helps to remove excess starch. You want to gently agitate the rice with your fingers, swishing it around in a bowl. Drain and repeat this process two or three times until the water is almost clear.
Step 2: Soak the Rice
-
Next, place the rinsed rice in a large bowl. Cover it with room-temperature water and let it soak for at least 8 hours or overnight. This step is crucial for achieving the right texture. It allows the rice to absorb water and swell.
Step 3: Drain and Prepare the Steamer
-
After soaking, drain the rice. Get a steaming basket lined with cheesecloth or banana leaves, if available. If using banana leaves, be sure to cut them to fit your steamer. Place the rice inside, spreading it out evenly.
Step 4: Steam the Rice
-
Set up your steamer over boiling water. Steam the rice for about 20 to 30 minutes. You will know it's done when each grain is chewy and glossy. It should be somewhat sticky but not hard or dry. If you’re using coconut milk, drizzle it over the rice during the last few minutes of steaming to infuse it with rich flavor.
Step 5: Serve
-
Once the rice is cooked, remove it from the steamer. You can mound it onto a serving platter or form it into small balls. Serve with fresh mango, spicy dipping sauces, grilled meats, or as part of a larger Thai feast.
Nutrition Facts
Servings 4
- Amount Per Serving
- Calories 175kcal
- % Daily Value *
- Total Fat 0.5g1%
- Total Carbohydrate 36g12%
- Dietary Fiber 1g4%
- Protein 3g6%
* Percent Daily Values are based on a 2,000 calorie diet. Your daily value may be higher or lower depending on your calorie needs.
Note
- Soaking Time is Key: If you want the best texture, do not skip the soaking step.
- Use Quality Ingredients: Opt for high-quality glutinous rice. The taste and texture differ significantly from regular rice.
- Experiment with Coconut Milk: Adjust the amount of coconut milk for richness to your liking.
- Steamer Setup: Make sure your pot has a tight lid to retain steam for even cooking.
- Serve Immediately: Sticky rice tastes best when freshly made. But, it can be reheated later if necessary.


