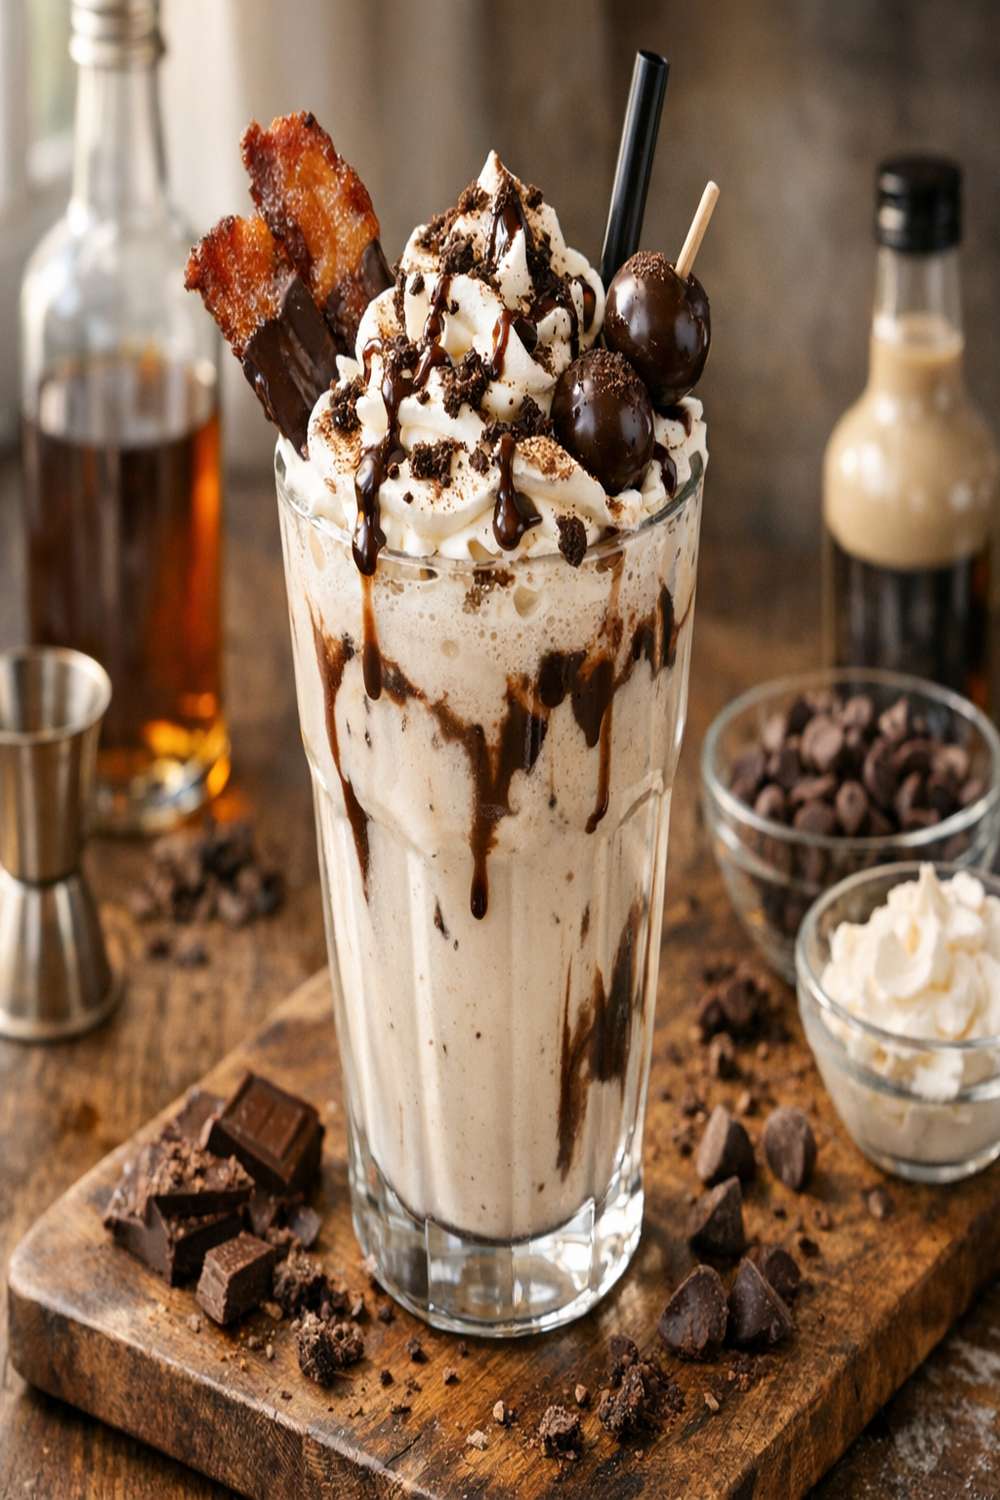

Ingredients
Method
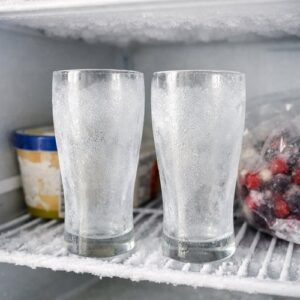
Step 1: Prepare Your Glasses for Success
- Here's the first technique lesson: everything must be properly chilled before you begin. Take two tall glasses and place them in your freezer for at least 10 minutes. While they're chilling, prepare your rim coating stations. Pour the chocolate syrup onto a small shallow plate. Spread the chocolate sprinkles onto another small plate, making sure you have enough coverage that you can fully coat a glass rim. This preparation step isn't just about looks—cold glasses keep your emulsified shake at the proper temperature longer, preventing separation once it's poured. When you're ready, remove one glass from the freezer. Dip the rim into the chocolate syrup first, coating it completely. The syrup acts as an adhesive, helping the sprinkles stick. Then immediately dip that syrup-coated rim into the sprinkles, rotating slowly to ensure full coverage. Repeat with the second glass. Set both aside or return them to the freezer while you blend.
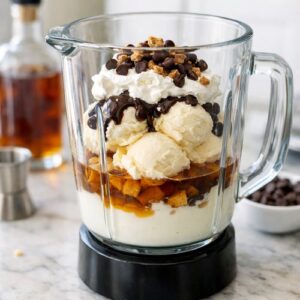
Step 2: Arrange Your Ingredients in the Blender (Order Matters!)
- This step teaches you the most important emulsification lesson: ingredient order dramatically affects how well your shake comes together. Don't just dump everything in randomly. Start by adding the slightly softened vanilla ice cream to your blender first. Why? Because the ice cream will be the foundation and emulsifier for everything else. Add it in chunks rather than one big scoop—this helps the blender process it more evenly. Then add the crushed chocolate sandwich cookies directly on top of the ice cream. Next, pour the cream liqueur over the cookies and ice cream. Pouring the spirit over solid ingredients rather than liquid prevents it from splashing and helps it distribute evenly. Then add the vanilla vodka on top of that. Finally, pour the whole milk around the sides of the blender—this gives the blades something to grip and start the emulsification process.
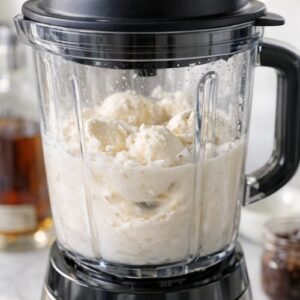
Step 3: Blend With Precision and Control
- Start your blender on low speed. This is crucial—starting at high speed will overmix and cause the ice cream to melt too quickly, breaking your emulsion. Listen for the sound to change from chunky resistance to a smooth whir. This takes about 15-20 seconds. Once everything is beginning to combine, gradually increase to medium-high speed. You're not looking for a completely smooth blend yet—you want to blend for about 30-45 seconds total, just until the mixture is creamy and mostly smooth but still has some body to it. Over-blending causes the shake to separate and become too thin. The texture should pour easily but still feel luxurious and substantial on your tongue. If your shake seems too thick, add 1-2 tablespoons more milk and pulse briefly. If it seems too thin (separated), you likely over-blended—this is a learning moment for next time, and the shake will still taste delicious even if the texture isn't perfect.
Step 4: Pour Into Your Prepared Glasses Immediately
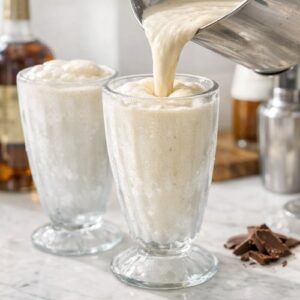
- Remove your prepared glasses from the freezer and pour the shake directly into them. Speed matters here—emulsified drinks start to separate the moment they stop moving and begin to warm. Pour steadily and completely into both glasses. The shake should come nearly to the rim, looking thick and creamy rather than thin and liquidy. The chocolate-rimmed glasses add an elegant touch that makes this feel like a special treat, which it absolutely is.
Step 5: Garnish and Serve Immediately
- Break off a piece of the chilled cookies and cream chocolate bar and balance it on top of each shake, nestled into the thick shake itself. Serving immediately ensures your emulsified shake stays at its perfect texture—cold, creamy, and stable. The moment you pour it, the clock starts ticking on emulsion stability. Hand these to your lucky recipients right away and watch their faces light up. This is your moment to celebrate your new technique mastery. Enjoy responsibly!
Notes
- Grainy or icy texture - This happens when ice cream chunks aren't fully incorporated. Solution: Blend longer at medium speed, but stop before you see the consistency becoming too thin. Add milk gradually if needed, blending in short pulses rather than continuously.
- Thin, separated shake that looks oily on top - You've over-blended and broken your emulsion. The fat and liquid have separated. Solution: For next time, blend for less time. If it happens now, add a small scoop of fresh ice cream and blend very gently for 5 seconds to re-emulsify.
- Shake tastes too strongly of alcohol - The spirits weren't evenly distributed through the ice cream base. Solution: Make sure to add spirits over the ice cream, then immediately start blending. Don't let the alcohol pool in one spot.
- Shake is too thick to drink through a straw - You didn't add enough liquid. Solution: Add milk one tablespoon at a time, blending briefly after each addition, until you reach your desired consistency. Remember, it should pour smoothly but still feel creamy.