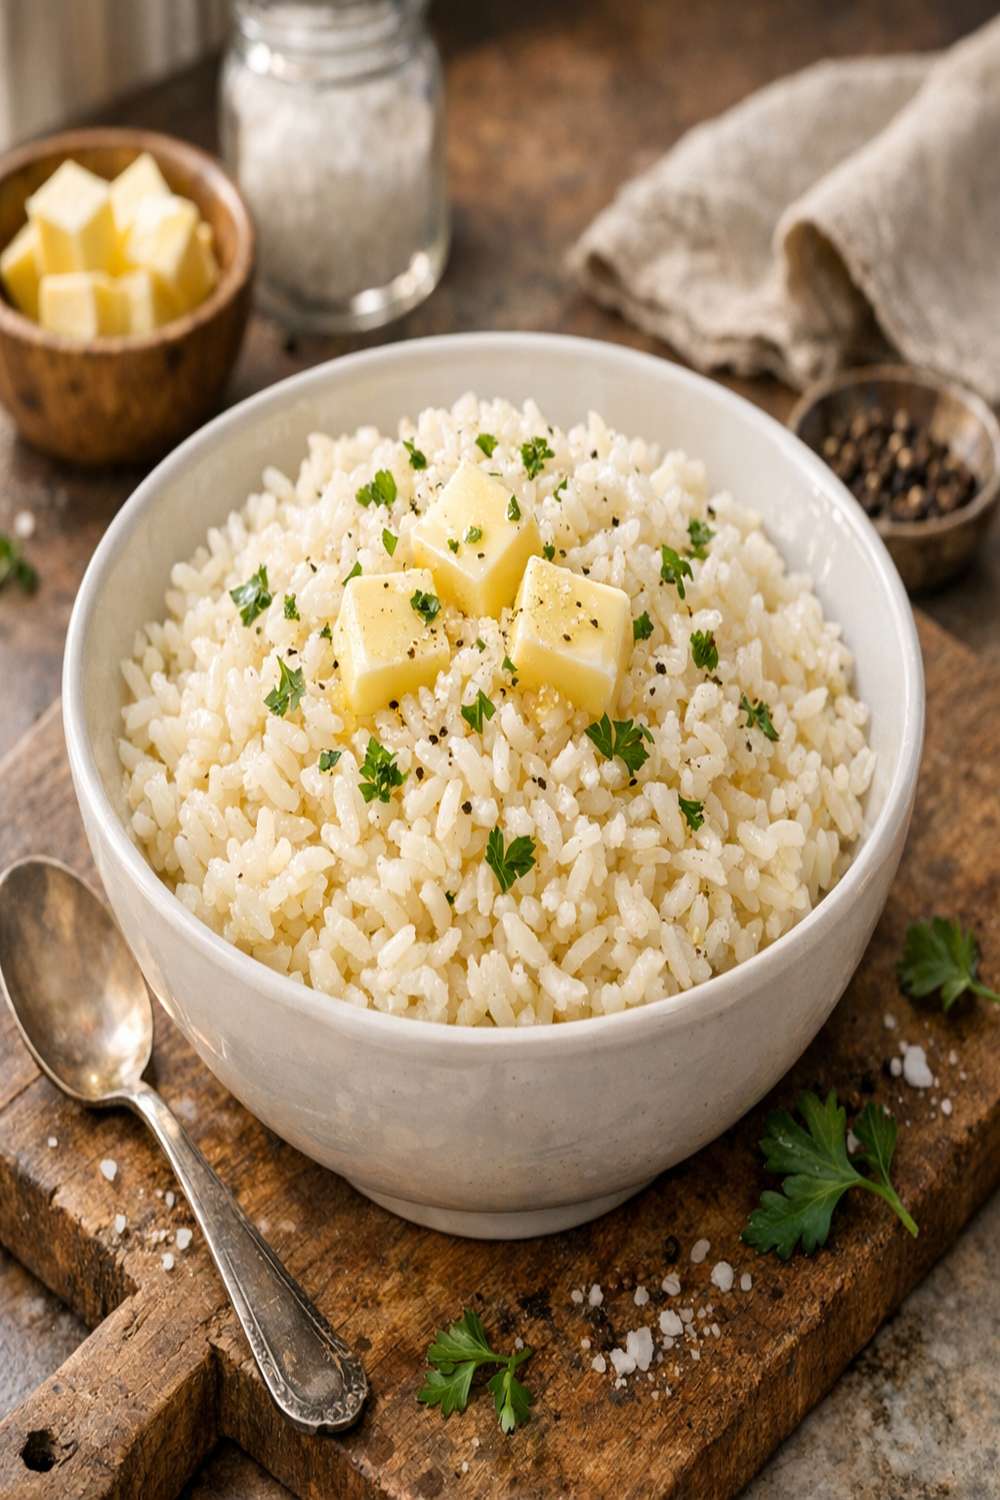

Ingredients
Method
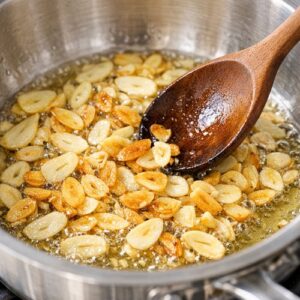
Step 1: Toast Your Garlic Until Golden and Crispy
- Pour your neutral oil into a large saucepan and set the heat to medium. Add your finely sliced garlic cloves, stirring constantly with a wooden spoon or heat-resistant spatula. This is not a step to ignore—constant movement is essential because garlic goes from golden to burnt in seconds. Watch the color carefully. You're looking for a light golden color with just a hint of amber. This should take about 3 to 4 minutes depending on your stove. The moment it starts to smell absolutely amazing and the garlic pieces look golden, immediately remove them with a slotted spoon and transfer to a paper towel-lined plate. The residual heat will continue cooking them slightly, so don't wait for them to look perfectly brown in the pan—they'll get there on the paper towel. This crispy garlic is liquid gold in your kitchen. These pieces become the flavor foundation and a beautiful garnish. Once they cool completely, they'll be perfectly crunchy.
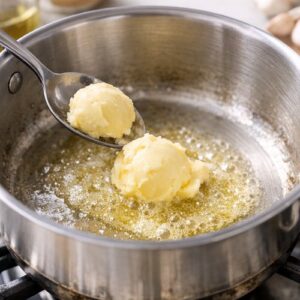
Step 2: Create Your Garlic-Butter Base
- Pour off most of the oil from the saucepan, leaving just a light coating at the bottom. Return the saucepan to medium heat and add 2 tablespoons of butter. Once the butter melts and foams slightly (you'll see it bubble gently), add your minced garlic immediately. Stir constantly for about 1 ½ minutes, until the minced garlic turns a light golden color and the entire mixture smells intensely garlicky and warm. This second garlic layer is crucial because minced garlic infuses differently than sliced garlic. It creates a subtle, complex flavor throughout the rice rather than just a crispy garnish. The moment you see that light golden color, you're ready to move forward. This is where most of your rice flavor comes from, so don't skip this step or rush it.
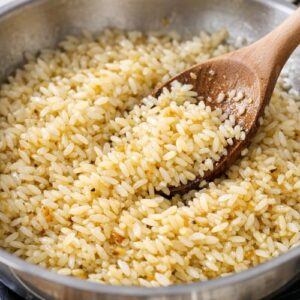
Step 3: Toast and Coat Your Rice
- Add your rice to the garlic-butter mixture and stir well, making sure every grain gets coated in that beautiful golden oil and butter. This step is called "toasting" the rice, and it's what prevents it from becoming mushy. Stir constantly for about 2 minutes until the rice looks slightly translucent at the edges and smells toasted and nutty. You'll notice the rice changes appearance—the grains become more separated and the mixture smells like you're about to make something delicious. That's exactly what should happen.
Step 4: Add Broth and Begin Cooking
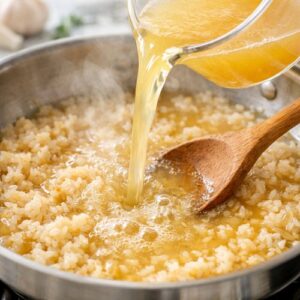
- Pour in your chicken broth carefully—it will bubble and steam slightly as it hits the hot pan, which is completely normal. Stir once to combine, then place a lid on your saucepan. The lid is important because it traps steam and helps cook the rice evenly. Bring the mixture to a boil over medium heat, watching until you see steam escaping and hearing small bubbling sounds. The moment it reaches a boil, immediately turn your heat down to medium-low. This lower temperature prevents the rice from cooking too fast on the bottom while staying dry on top.
Step 5: Cook Low and Slow Until Liquid Absorbs
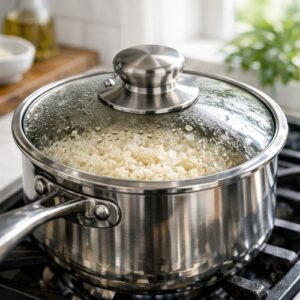
- Keep the lid on your saucepan and let the rice cook undisturbed for 12 to 15 minutes. Resist the urge to lift the lid and stir—I know it's tempting, but that releases the steam that's cooking your rice perfectly. After about 12 minutes, tilt the saucepan gently to check if the liquid has been absorbed. If you see any broth pooling at the bottom, give it another minute or two. The rice is done when all the liquid is gone and the grains look fluffy and separate.
Step 6: Rest Your Rice (Don't Skip This!)
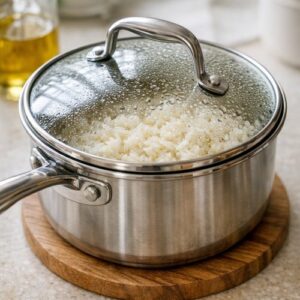
- Remove the saucepan from heat but leave the lid on. Let it rest for exactly 10 minutes. I know this seems like wasted time, but this resting period is when the magic happens. The residual steam continues to gently cook the rice, and the grains become fluffy rather than clumpy. Use this time to set your table, finish another dish, or take a breath. When you come back, your rice will be perfectly cooked.
Step 7: Fluff, Finish, and Serve
- After resting, remove the lid and fluff the rice gently with a fork, breaking up any clumps and loosening the grains. Transfer to a serving bowl, then stir through the remaining 2 tablespoons of butter so it melts into the warm rice. Top with your sliced green onions and those gorgeous crispy garlic pieces you made in Step 1. Finish with a pinch of sea salt and white pepper to taste. If you're using the optional garlic powder and parsley, now's the time to add them for an extra-special presentation. Serve immediately while everything is warm and the butter is still melting into each grain.
Notes
- Make your garlic-slicing life easier - Keep a garlic mincer or microplane in your kitchen drawer. Finely sliced garlic is easier than you think if you use the right tool. I use a sharp knife with a rocking motion, which takes about 30 seconds.
- Brown butter instead of regular butter - For an extra-fancy version, melt your butter slowly until it turns golden brown before adding the minced garlic. This adds a nutty flavor that elevates the whole dish. Just watch carefully so it doesn't burn.
- Use room-temperature broth - If possible, warm your chicken broth on the stove before adding it. This helps the rice cook more evenly. Cold broth from the refrigerator works fine too, but it might add 2-3 minutes to your cooking time.
- Don't skip the paper towel step - After removing the crispy garlic, laying it on paper towels allows excess oil to drain, making it even crispier. This is the difference between soggy garlic and spectacular garlic.
- Taste before serving - Rice absorbs salt differently depending on your broth, so always taste and season to your preference. Start with a small pinch of salt and work up from there.
- Keep rice warm - If you finish this before your main dish is ready, place a clean kitchen towel over the serving bowl to keep it warm without drying it out.