
Ingredients
Method
Step 1: Form Your Patties With Purpose
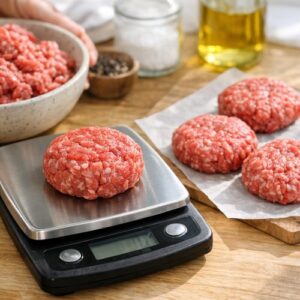
- Take your ground beef and divide it into 4 equal portions. I use a kitchen scale for this—it takes the guesswork out and ensures even cooking. Each portion should weigh about 150 grams (5.3 ounces). Gently roll each portion into a smooth ball using light pressure from your hands. You're not trying to compress the meat; you're just bringing it together. Now comes the part that changes everything: press each ball into a patty that's slightly larger than your bun, approximately 4.7 inches wide and about 0.4 inches thick. The patty will shrink as it cooks, so making it slightly larger ensures it doesn't end up smaller than your bun. Handle the meat as little as possible—excessive handling makes the burgers tough and dense.
Step 2: Create the Signature Dent
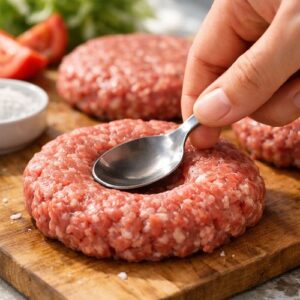
- Here's the professional technique that stops your patties from doming in the middle: using your thumb or the back of a spoon, gently press a small dent into the center of each patty. This shallow indentation (about the size of a quarter) compensates for how the meat naturally contracts during cooking. Without this dent, your burger puffs up in the middle and becomes thick and unevenly cooked. Place your patties on a plate and refrigerate them while you prepare everything else. Cold patties hold their shape better on the grill.
Step 3: Season at the Right Moment
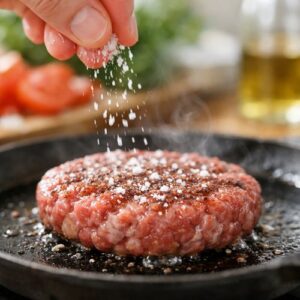
- This is critical for burger success: do not salt your beef before forming it. Salt draws moisture out of the meat and breaks down the proteins, which makes your burgers tough and compressed. Instead, season just before cooking. Take your chilled patties from the refrigerator. Sprinkle one side of each patty with half of your salt and pepper (1/16 teaspoon salt and 1/16 teaspoon pepper per patty). Flip each patty and sprinkle the other side with the remaining seasoning. Press gently so it adheres.
Step 4: Toast Your Buns
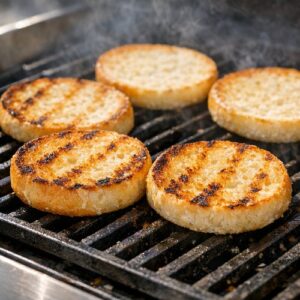
- While your patties are chilling, preheat your grill to high heat. Once it's hot, place your burger buns cut-side up on the grill grates. Toast for 3-5 minutes until they're light golden and slightly crispy. This step is not optional—toasted buns prevent your burger from getting soggy and add tremendous flavor. If using a traditional oven, place buns cut-side up on a sheet pan and broil for 2-3 minutes. Set your toasted buns aside on a clean plate.
Step 5: Cook Your Patties to Juicy Perfection
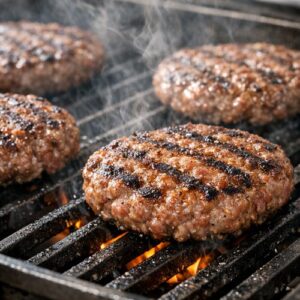
- Brush your hot grill grates lightly with canola oil to prevent sticking. Place your seasoned patties directly on the grill. Do not press them down with your spatula—this is the number one mistake people make, and it squeezes out all the juices. Let them cook undisturbed for about 3-4 minutes until they develop a beautiful brown crust. Flip carefully and cook the other side for another 3-4 minutes for medium doneness. The internal temperature should reach 160°F (71°C) for food safety. If you like your burgers less done, pull them at 155°F, but I recommend hitting that 160°F mark for peace of mind, especially when feeding families.
Step 6: Add the Cheese
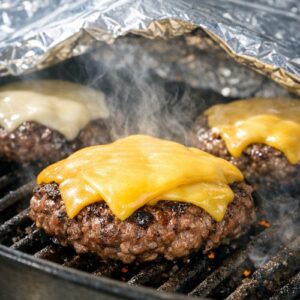
- In the last minute of cooking, place 1-2 slices of cheese on top of each patty. Cover your grill or tent with foil to help the cheese melt. If you're making double cheeseburgers (which my family loves), use 2 slices per burger. The residual heat will melt it beautifully.
Step 7: Assemble With Care
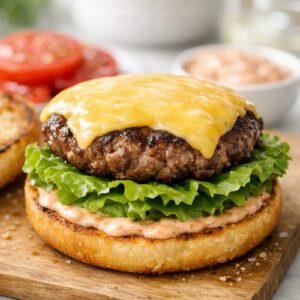
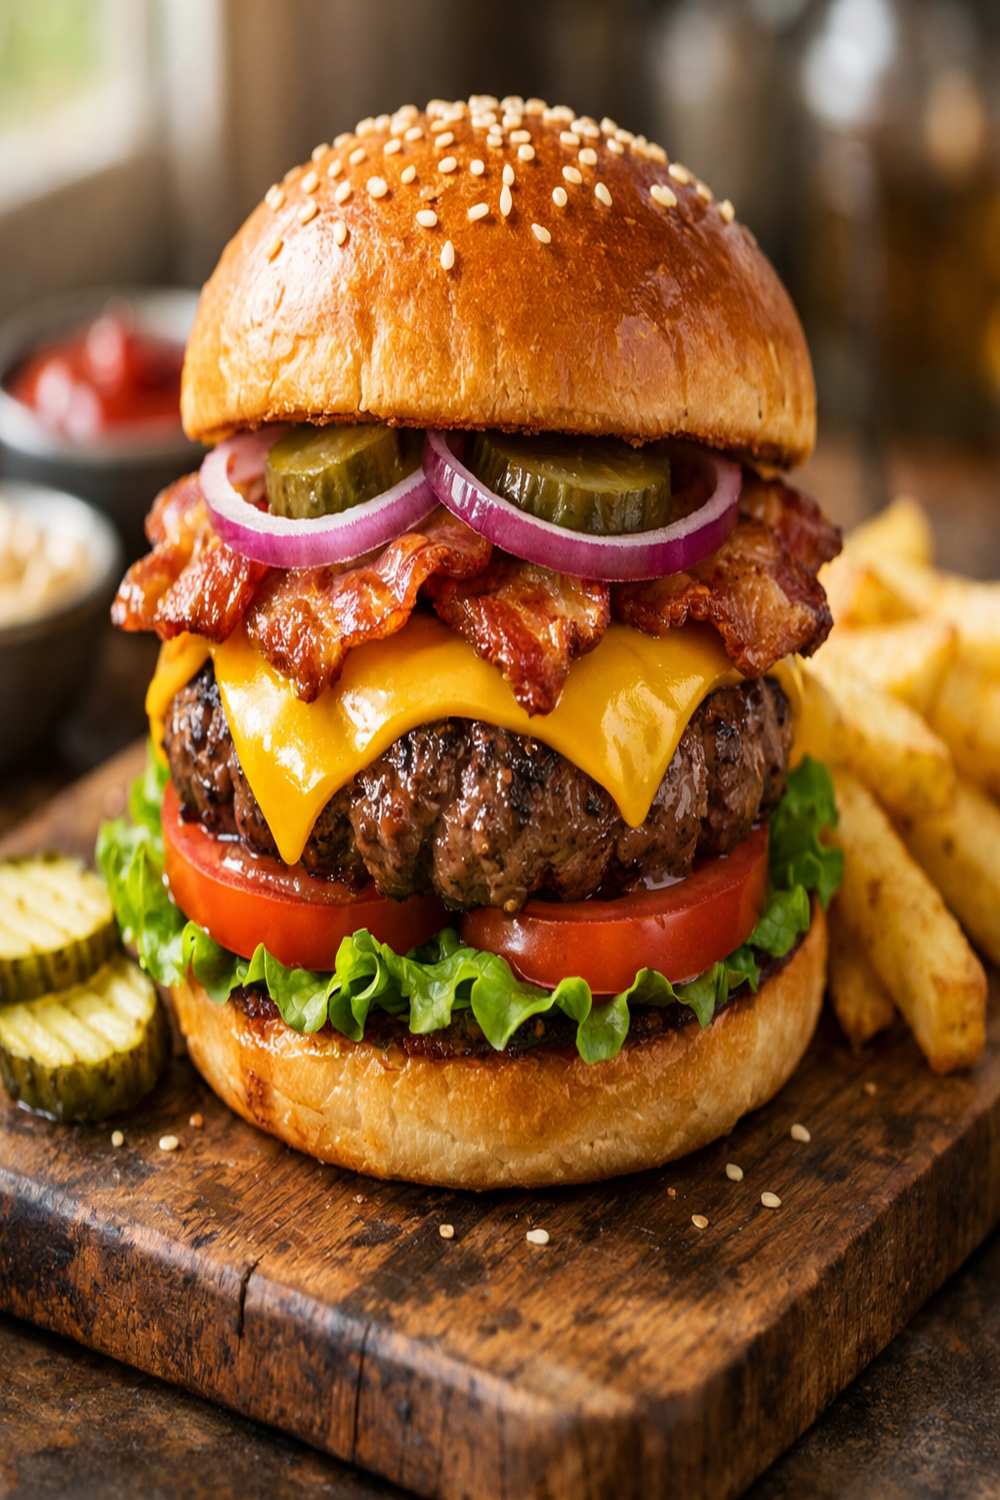
- Take your toasted bun and spread a generous spoonful of your special burger sauce on the bottom half. Layer 2 lettuce leaves, then a patty with melted cheese, then a slice or two of tomato, followed by a small handful of onion rings and a few slices of pickle. Top with the other half of the bun. Serve immediately with ketchup, mustard, and additional condiments on the side so everyone can customize their burger.