Ingredients
Method
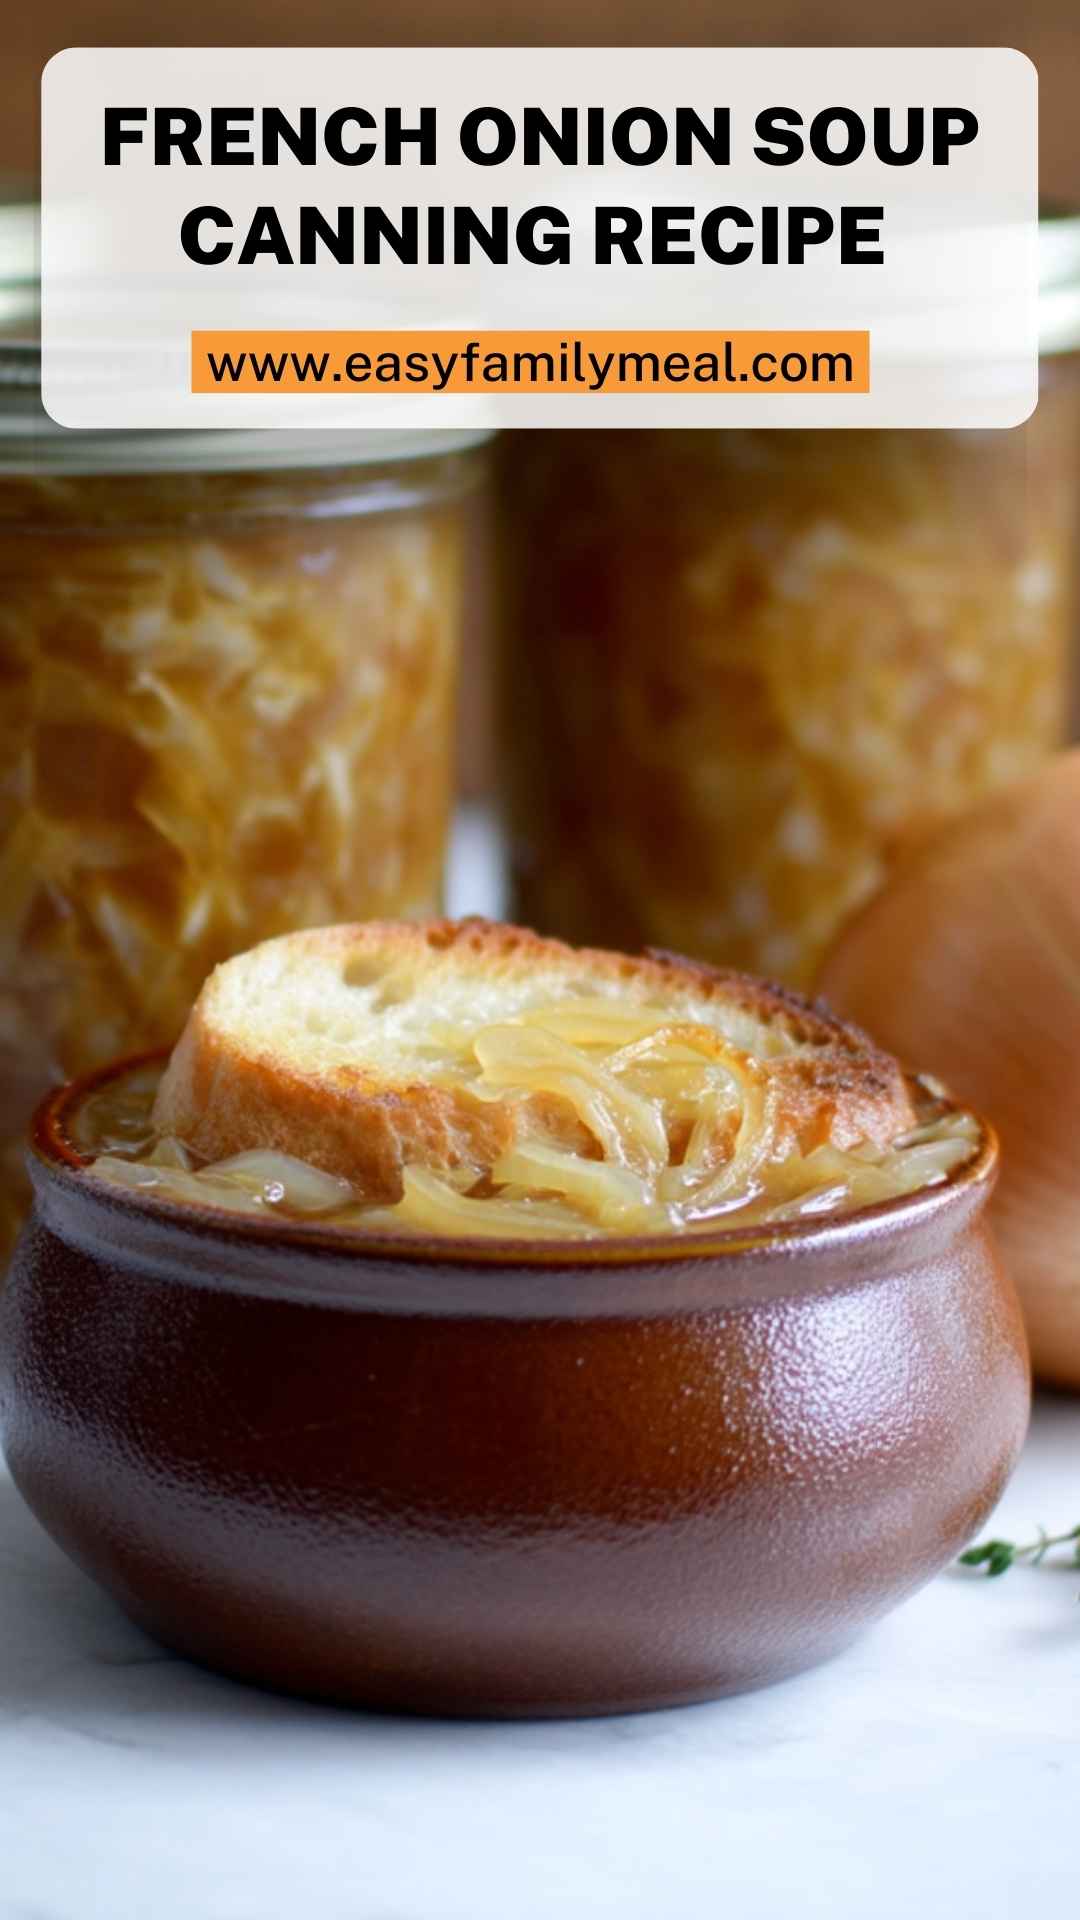
Step 1: Caramelize the Onions
- First things first, we need to transform those raw onions into a sweet, caramel-colored treasure. In a large heavy-bottomed pot (a Dutch oven is perfect), melt the butter over medium-low heat. Add the sliced onions and stir to coat them in the butter. Sprinkle in the sea salt. This will help draw out moisture. Cook the onions slowly, stirring frequently. Be patient! This should take anywhere from 30 to 45 minutes. You're aiming for a rich, golden-brown color.
Step 2: Add the Garlic
- Once your onions are caramelized, it’s time to elevate the flavor. Add the minced garlic to the pot and stir. Cook for about 1-2 minutes until fragrant. Resist the urge to burn it; we want the sweetness to shine through.
Step 3: Deglaze with Wine and Sherry
- Now, let’s bring out even more flavor. Pour in 2 cups of the dry white wine and the dry sherry.Scrape the bottom of the pot with a wooden spoon to release the flavorful bits stuck to it. Let this simmer for about 5-7 minutes until the liquid reduces. Add in the beef bone broth while stirring. Follow with the remaining half-cup of wine and thyme leaves.Bring the mixture to a gentle boil, then reduce to low heat and let it simmer for 30 minutes.
Step 4: Add Broth and Seasoning
- With the base set, we want to introduce our liquids.
Step 5: Prepare for Canning
- At this point, we want to assure everything is ready for the canning step. While the soup simmers, prepare your canning jars and lids by sterilizing them in boiling water.Once the soup is ready, remove it from the heat and taste. Adjust the seasoning with salt and pepper as needed.
Step 6: Fill and Seal the Jars
- Now we’re in the home stretch! Using a ladle, carefully fill each sterile jar with the hot soup, leaving about 1 inch of headspace.Wipe the rims of the jars with a clean cloth to ensure a good seal.Place the lids on top and screw on the rings until they are fingertip-tight.
Step 7: Process the Jars
- This is the final step in ensuring your soup stays safe and delicious for months to come. Process your jars in a pressure canner at 10-15 pounds of pressure for about 20 minutes.After processing, allow the canner to cool down completely before removing the jars.Place the jars on a clean kitchen towel or cooling rack to cool completely.
Notes
- Use fresh onions: The fresher your onions, the better the flavor.
- Don’t rush the caramelization: It can be tempting to crank up the heat but resist!
- Taste testing: Always taste your broth before canning; it’s easier to season early.
- Monitor your jars: After cooling, ensure they’ve sealed properly. A lid that flexes up and down is not sealed.
- Store in a cool, dark place: This helps maintain the quality of the soup over time.