Ingredients
Method
Step 1: Prepare the Crust
- Start by mixing the crushed graham cracker crumbs and brown sugar in a medium bowl. Stir in the melted butter until everything is combined. The mixture should resemble wet sand. Take a mini cheesecake pan or individual serving cups, and press the crumb mixture firmly into the bottom. You want a solid base, so don’t be shy with the pressure.
Step 2: Chill the Crust
- Place the crust in the fridge for about 10-15 minutes. This step is crucial. Chilling helps the crust firm up, making it easier to fill without crumbling. While it’s chilling, let’s move on to the filling.
Step 3: Make the Filling
- In a large mixing bowl, beat the cream cheese until it’s smooth and creamy. You can use a hand mixer or stand mixer for this part. Gradually add the granulated sugar, sour cream (or yogurt), lemon juice, and vanilla extract. Mix until everything is combined and smooth. If you’re adding cinnamon, include it here.
Step 4: Whip the Cream
- In a separate bowl, whip the chilled heavy cream until soft peaks form. This step is vital. The whipped cream will give your cheesecake its airiness. Gently fold the whipped cream into the cream cheese mixture. Be careful here; you don’t want to deflate the whipped cream.
Step 5: Fill the Crusts
- Once your crusts are chilled, spoon the cheesecake mixture into each cup or mold. Fill them to the top and smooth the surface with a spatula. Now, it’s time for the hardest part: the waiting.
Step 6: Chill Again
- Let the filled cheesecakes chill in the refrigerator for at least 4 hours, ideally overnight. This helps all the flavors meld together and allows the cheesecake to set properly.
Step 7: Top and Serve
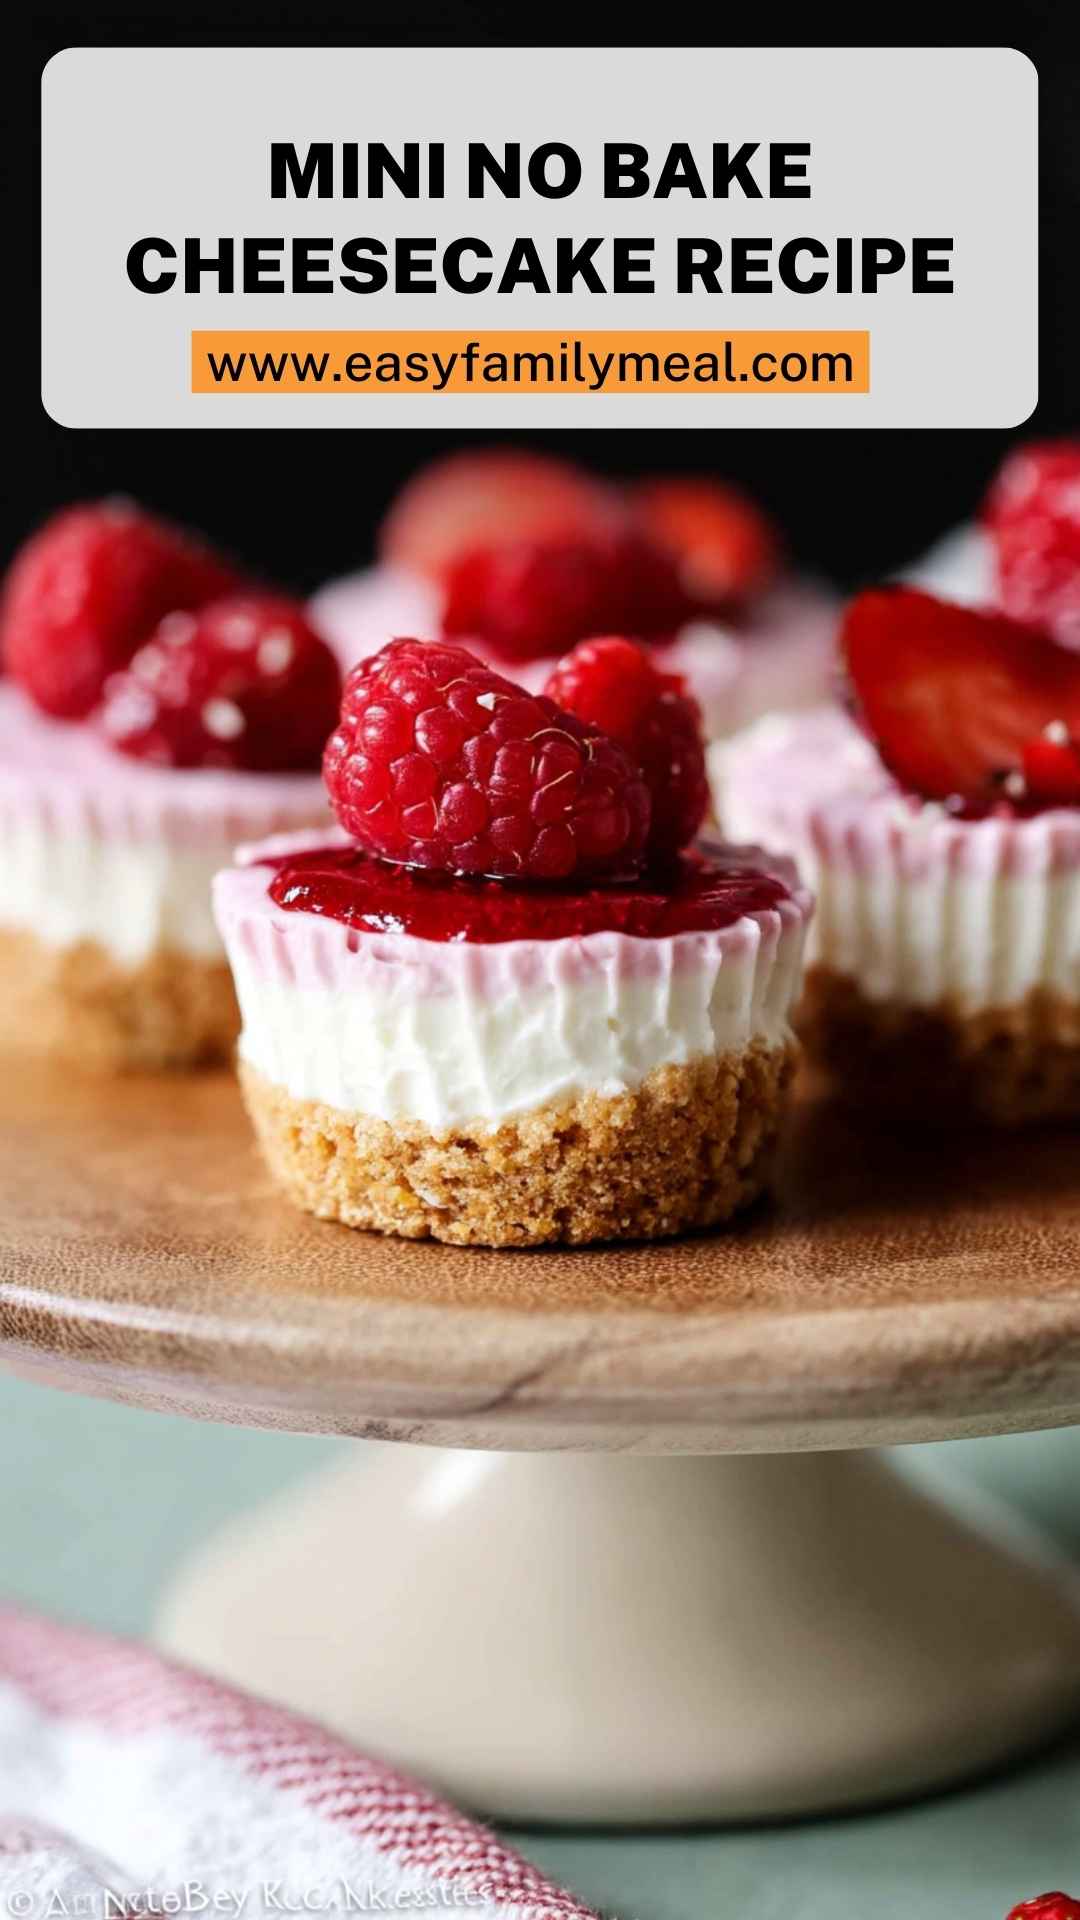
- Before serving, add your favorite toppings. Fresh berries or a drizzle of fruit preserves are excellent choices. Get creative here! Serve these mini cheesecakes for a truly delightful dessert experience.
Notes
- Use Full-Fat Cream Cheese: For the best flavor and texture, opt for full-fat cream cheese. The richness makes a significant difference.
- Chill Your Bowls: If you chill your mixing bowls and beaters before whipping the cream, it will whip up faster and get fluffier.
- Don’t Overmix: When combining the whipped cream with the cream cheese base, fold gently. Overmixing can cause the filling to lose its airy texture.
- Experiment with Flavors: Don’t be afraid to switch up the flavors. Add a splash of almond extract or some cocoa powder for a chocolate version.
- Go No Sugar: For a healthier option, you can use a sugar substitute to lighten up the dessert while maintaining sweetness.