Ingredients
Method
Step 1: Prepare Your Cucumbers Properly
- Start by rinsing your cucumbers under cool water and scrubbing them gently with a clean brush to remove any dirt. Pat them completely dry with a clean kitchen towel—this is important because excess moisture dilutes your brine. Now trim off both the blossom end (the dimpled side opposite the stem) and the stem end completely. The blossom end contains enzymes that can cause softening, so removing it is key to maintaining that perfect crunch. Slice your cucumbers into spears or rounds, depending on your preference. Spears are great for snacking straight from the jar, while rounds work better for sandwiches and burgers.

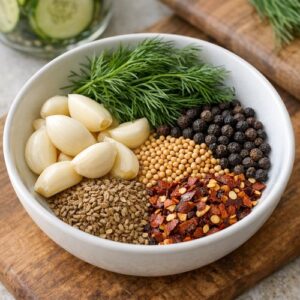
Step 2: Gather Your Aromatics in One Bowl
- While your cucumbers are prepping, combine your garlic cloves, fresh dill, black peppercorns, mustard seeds, red pepper flakes, and celery seed in a small bowl. You don't need to mix them—just have them ready and visible. This takes thirty seconds but saves you from scrambling to find spices once the hot brine is ready. Lightly smash your garlic cloves with the side of a knife to break them open slightly. This releases their oils and allows them to flavor the brine more effectively. You want them broken, not minced.
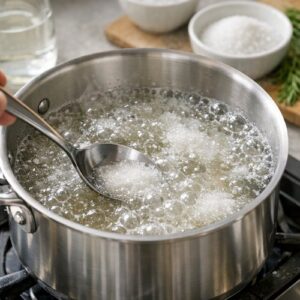
Step 3: Combine Water, Vinegar, Salt, and Sugar
- Pour your water and vinegar into a medium saucepan. Add the kosher salt and granulated sugar. Bring the mixture to a boil over medium-high heat, stirring occasionally until the salt and sugar dissolve completely—this should take about 5 to 7 minutes. You'll notice the brine starts to steam noticeably once it reaches a rolling boil. Don't skip the boiling step; the heat helps ensure proper flavor development and preservation. Once you see active bubbles breaking the surface consistently, you're ready to move forward.
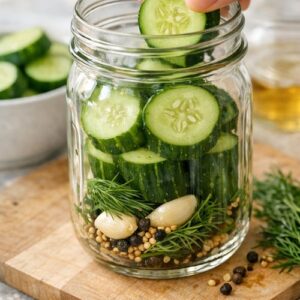
Step 4: Layer Cucumbers and Aromatics in Your Jar
- While your brine comes to temperature, grab a clean quart-sized mason jar (or any glass jar with a tight lid). Start by adding about one-third of your aromatic mixture to the bottom—garlic, dill, peppercorns, and all those wonderful spices. Layer roughly half of your cucumber spears or slices on top. Add another layer of aromatics (using about one-third of what remains), then finish with your remaining cucumbers. Top everything with the final layer of aromatics. This arrangement ensures flavors are distributed throughout the jar rather than concentrated at the bottom.
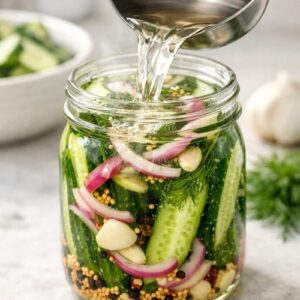
Step 5: Pour Hot Brine Over Everything
- Carefully pour your hot vinegar brine over the cucumbers and aromatics, filling the jar until the liquid covers everything completely. You need at least ½ inch of brine above the topmost cucumber piece to ensure proper preservation and flavor. Some liquid will overflow—that's completely normal. Have a small towel nearby to catch drips. The hot brine will look cloudier than you might expect, but don't worry; it clears up beautifully as it cools.
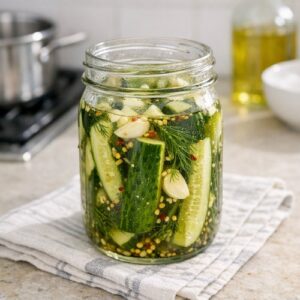
Step 6: Cool and Refrigerate Immediately
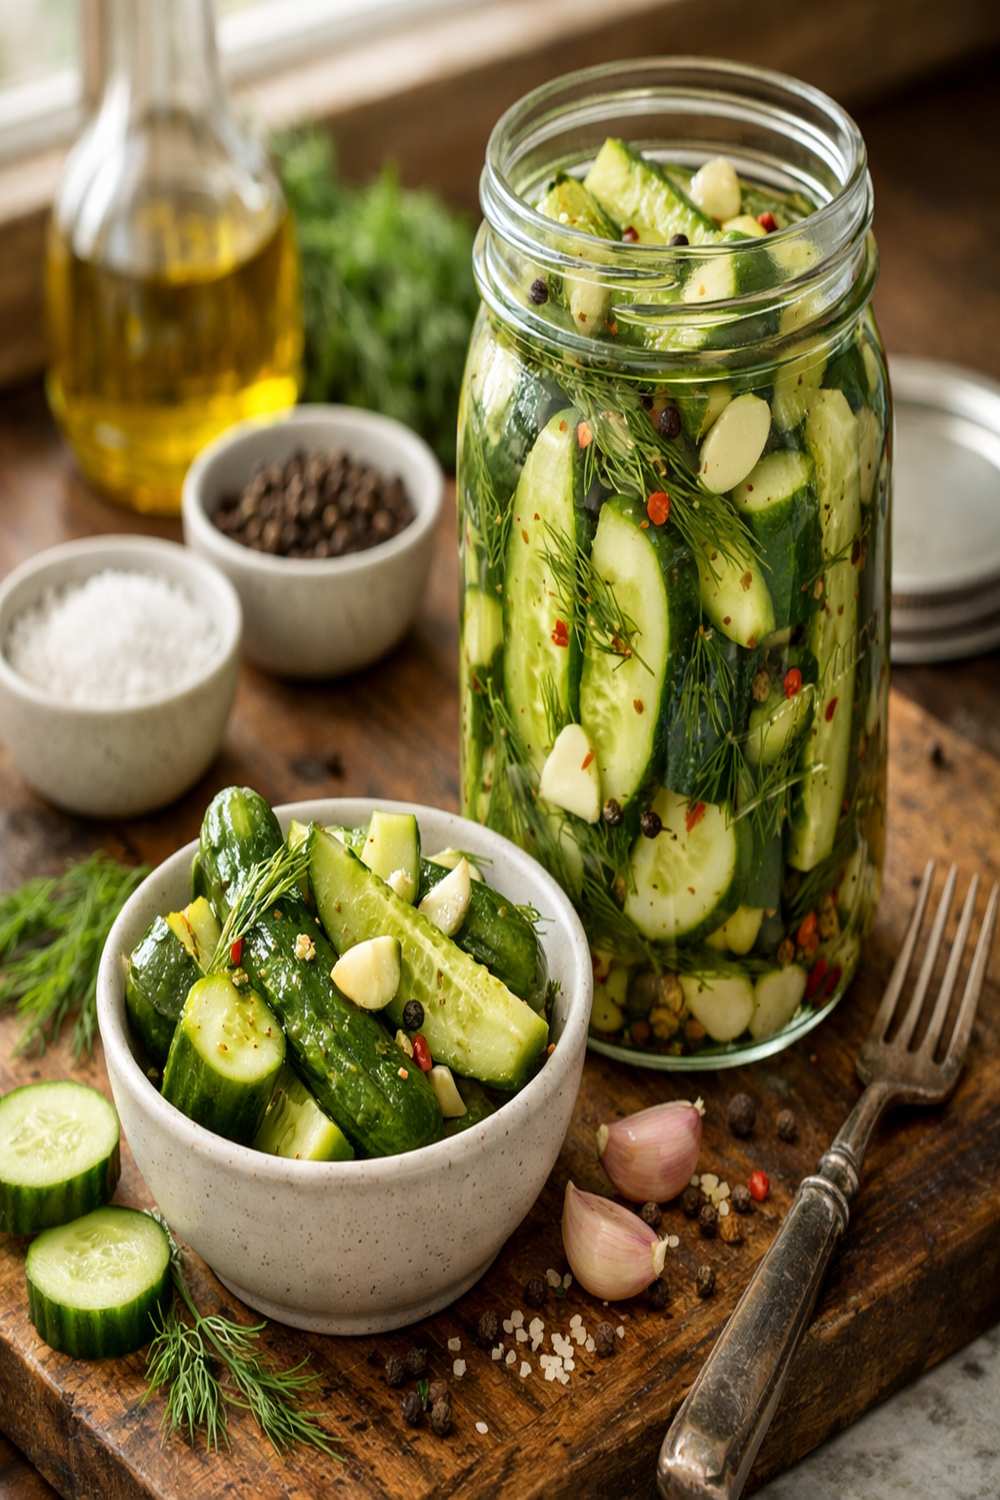
- Place the uncovered jar on your counter and let it cool to room temperature—this takes roughly 30 to 45 minutes. Once it's cool enough to touch comfortably, cover it with a tight-fitting lid and transfer it to your refrigerator. At this point, you can taste a spear if you're curious, but I recommend waiting at least one to two hours for the flavors to really meld. That said, they're technically ready to eat immediately if hunger strikes!
Notes
- Choose the right cucumber variety - Pickling cucumbers (often labeled "Kirby" or "Boston") stay crispier than slicing varieties. If you can only find regular cucumbers, select smaller, thinner ones and use them immediately.
- Don't skip the blossom-end removal - This single step makes the difference between crispy pickles and soft ones. The enzymes at the blossom end break down cell walls, so removing it is non-negotiable for texture.
- Use kosher salt, always - Kosher salt dissolves cleanly without additives. Iodized table salt can cloud your brine and create an off-flavor. Sea salt works too, just measure by weight rather than volume.
- Pack your jar strategically - Don't cram cucumbers in too tightly or they won't pickle evenly. Arrange them vertically or diagonally with some space between pieces for brine circulation.
- Taste after 24 hours for optimal flavor - While they're good after two hours, pickles taste noticeably better after spending a full night in the brine. The flavor deepens and becomes more integrated.
- Make the brine hot, but not boiling when you pour - If it's still at a rolling boil, you risk cracking a glass jar. Let it sit for 2 to 3 minutes after it stops boiling, then pour carefully.