
Ingredients
Method
Step 1: Prepare Your Ham (2 Hours Before Cooking)
- Remove your ham from the refrigerator and set it on your counter. This matters more than most people realize. Cold ham won't cook evenly, and you'll end up with a dried-out exterior before the interior reaches temperature. Give yourself a full 2 hours for it to come to room temperature. While you wait, this is the perfect time to prep your glaze ingredients so they're ready to combine. For all dietary versions: Room temperature is room temperature across every diet.
Step 2: Remove the Skin and Score the Fat
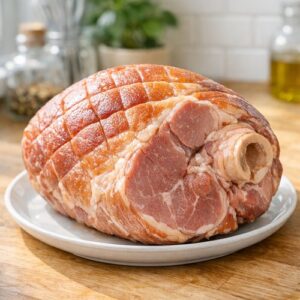
- Once your ham has come to room temperature, carefully peel away the skin if it still has one attached. You're looking for the layer of fat underneath—that's your golden ticket. Don't remove the fat! Just the papery skin on top. Using a sharp knife (I use my chef's knife), score a diamond pattern into the fat layer about 1 inch across and ¼ inch deep. These scores let the glaze sink in and create that gorgeous caramelized crust everyone expects. For all dietary versions: This technique is identical across every diet.
Step 3: Set Up Your Roasting Pan and Oven
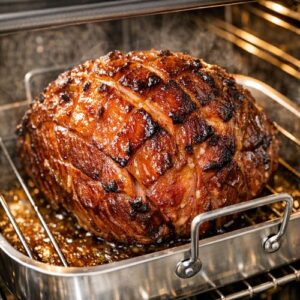
- Preheat your oven to 350°F. Pour 2 cups of water into the bottom of a large roasting pan and position the rack inside so it sits above the water. This water creates steam, which keeps your ham from drying out during the long initial roast. Place your scored ham cut-side down on the rack. Loosely cover everything with aluminum foil—you want it to trap steam, but not seal so tightly that nothing can escape. For all dietary versions: This setup is the same across every diet.

Step 4: Begin the Initial Roast (45 Minutes)
- Roast your prepared ham at 350°F for 45 minutes. This is your gentle cooking phase, when the heat slowly brings everything to temperature without aggressive browning. Set a timer. I use my phone because it's impossible to forget an alarm when it's in your pocket. For all dietary versions: Timing stays the same across every diet.
Step 5: Make Your Glaze While the Ham Roasts
- In a small saucepan over medium heat, combine your sweetener (maple syrup and brown sugar, or your chosen substitutes), bourbon, mustard, Worcestershire sauce (or tamari for gluten-free), black pepper, cloves, and apple cider vinegar. Whisk everything together until smooth, then bring to a simmer. Let it bubble gently for 5 minutes—you're reducing the liquid slightly and letting the flavors marry together. Keto note: Use your keto sweetener here. The glaze will look slightly different in color (possibly lighter), but the flavor will be rich and deep. Vegan note: Add your coconut oil or vegan butter at this step instead of later, so it stays integrated and emulsified throughout the cooking process. Gluten-free note: Make absolutely sure your tamari is certified gluten-free. Not all brands are created equal.
Step 6: Finish Your Glaze With Fat
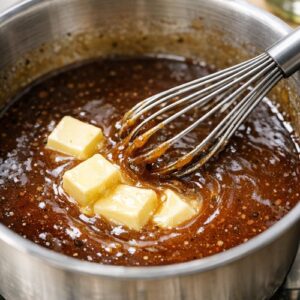
- Remove your saucepan from heat and whisk in your butter (or dairy-free alternative) until the glaze becomes glossy and beautifully smooth. This is where the magic happens. The fat emulsifies with the other ingredients and creates that silky texture that makes people think you spent hours on this. You didn't—you spent about 10 minutes. Keto note: Use grass-fed butter here if possible. The quality of butter matters more than people realize. Vegan note: If you added your oil earlier, you can add a tiny bit more now for extra richness if needed. Dairy-free note: Ghee works beautifully here because it has that rich, buttery flavor without the dairy proteins that cause sensitivities. Set your glaze aside to cool slightly. You don't want it boiling hot when you brush it on the ham.
Step 7: Increase Heat and Begin Glazing
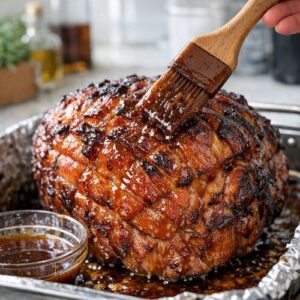
- When your 45 minutes of initial roasting are up, remove the ham from the oven and carefully increase the oven temperature to 400°F. This higher heat will caramelize your glaze and create that gorgeous exterior. Brush about one-quarter of your glaze all over the ham, getting it into those diamond scores so it really sticks. Return the ham to the oven. For all dietary versions: This technique is identical.
Step 8: Continue Roasting and Glazing (60-75 Minutes Total)
- Roast at 400°F for 15 minutes, then remove the ham and brush with more glaze. Repeat this every 15 minutes for the next 45 to 60 minutes, using up all your remaining glaze. Each time you brush it on, you're building layers of flavor and creating a deeper caramelization. This is when your kitchen will smell absolutely incredible. Expert tip from my decade in nutrition counseling: Most people rush this step, but those 15-minute intervals are what transform a good glaze into one people ask about for years. Don't skip them. For all dietary versions: Timing and technique are identical.
Step 9: Check for Doneness
- Your ham is finished when it reaches an internal temperature of 150°F when measured with a meat thermometer inserted into the thickest part (not touching bone). This is the safe temperature for pre-cooked ham. If your ham is still below 150°F after 75 minutes, give it another 10-15 minutes and check again. Every oven runs slightly different, and ham thickness varies. For all dietary versions: Temperature stays the same across every diet.
Step 10: Rest Before Slicing (30 Minutes)
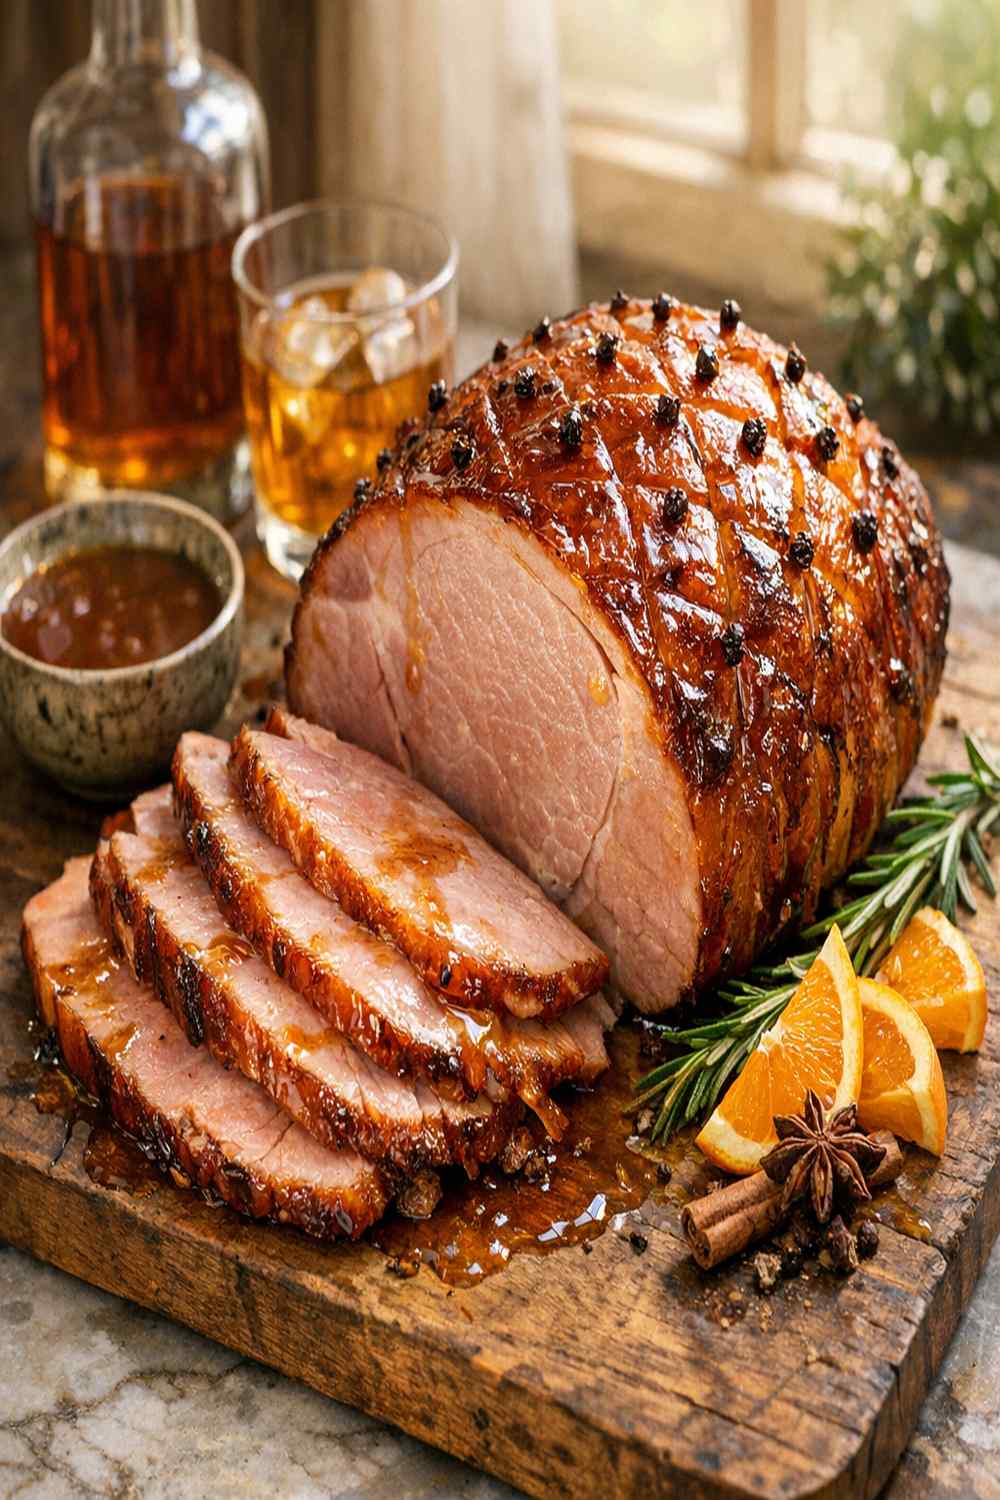
- Remove your ham from the oven and let it rest on the counter for a full 30 minutes before slicing. I know it's hard to wait—it smells amazing and looks beautiful. But those 30 minutes let the juices redistribute throughout the meat, which means every slice will be juicy instead of dry. Cover it loosely with foil if your kitchen is cold, but don't trap the steam. For all dietary versions: Resting is essential across every diet. After resting, slice and serve. Your glaze will have created a beautiful, caramelized crust that should make people actually pause before eating.