
Ingredients
Method
Step 1: Prepare Your Carrots for Maximum Visual Impact
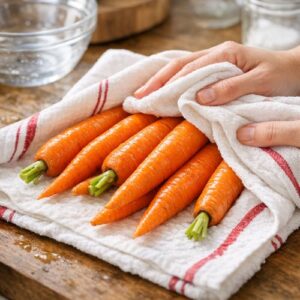
- Rinse your carrots under cool water and pat them completely dry with a clean kitchen towel. Moisture is the enemy of beautiful caramelization, so this step genuinely matters. Using a sharp vegetable peeler, remove the thin outer layer—you want to expose that bright orange interior while keeping the carrots whole. Now comes the moment that transforms this from ordinary to impressive: slice each carrot on a diagonal at roughly 45-degree angle, aiming for pieces about ¼-inch thick. This diagonal cut does three things simultaneously. First, it increases the surface area for caramelization, which means more of that gorgeous golden-brown color. Second, the angled shape naturally creates visual height and movement on the plate. Third, it signals to your family that you've put thought into presentation, which somehow makes vegetables taste better.
Step 2: Create Your Cooking Base
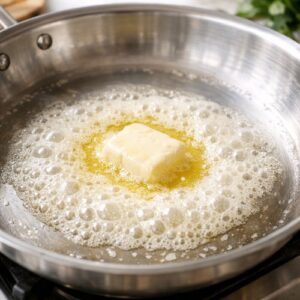
- Place a large skillet over medium-high heat and add your butter. Watch closely as it melts—you want it foaming gently, not browning. Once the foam subsides and you see that golden liquid, you're ready for the next step. This moment matters because you're creating the perfect temperature for caramelization without burning. Immediately add all your prepared carrot slices to the pan. You want them in a single layer if possible, though some overlap is fine. Resist the urge to stir immediately—let them sit undisturbed for 2 to 3 minutes. This contact time with the hot pan is what creates those gorgeous caramelized edges that make people ask for the recipe.
Step 3: Build the Glaze
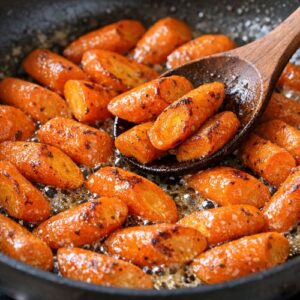
- After those first few minutes, give the carrots a gentle stir. They should have some golden-brown color developing on the edges—exactly what you want. Continue cooking for another 3 to 4 minutes, stirring occasionally, until the carrots are beginning to soften. Now pour in your honey, distributing it evenly across the pan. The honey will immediately start creating that amber glaze as it combines with the butter and carrot juices. Keep stirring gently to coat every piece. The kitchen will smell absolutely incredible at this point—that sweet, buttery, slightly caramelized aroma is the sign that everything's working perfectly. This is the moment I often have family members wandering into the kitchen asking what smells so good.
Step 4: Season with Intention
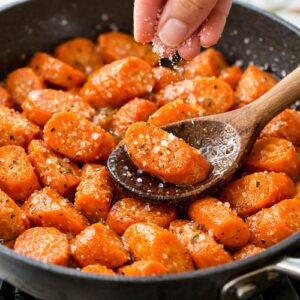
- Sprinkle your salt over the carrots and stir to distribute evenly. Taste a piece—this is crucial for getting the seasoning right. You want to taste the carrot's natural sweetness balanced with salt and honey. The salt prevents the dish from tasting one-dimensional. If it needs more, add another pinch and taste again. Remember that you can always add more salt, but you can't remove it. Grind fresh black pepper over the top—you'll see those little specks settle onto the carrots, and they add visual sophistication. Continue cooking for 2 to 3 more minutes until the carrots are fork-tender but still holding their shape. You're aiming for that sweet spot where they're soft enough to bite through easily but firm enough to maintain their beautiful diagonal shape on the plate.
Step 5: The Finishing Touch That Elevates Everything
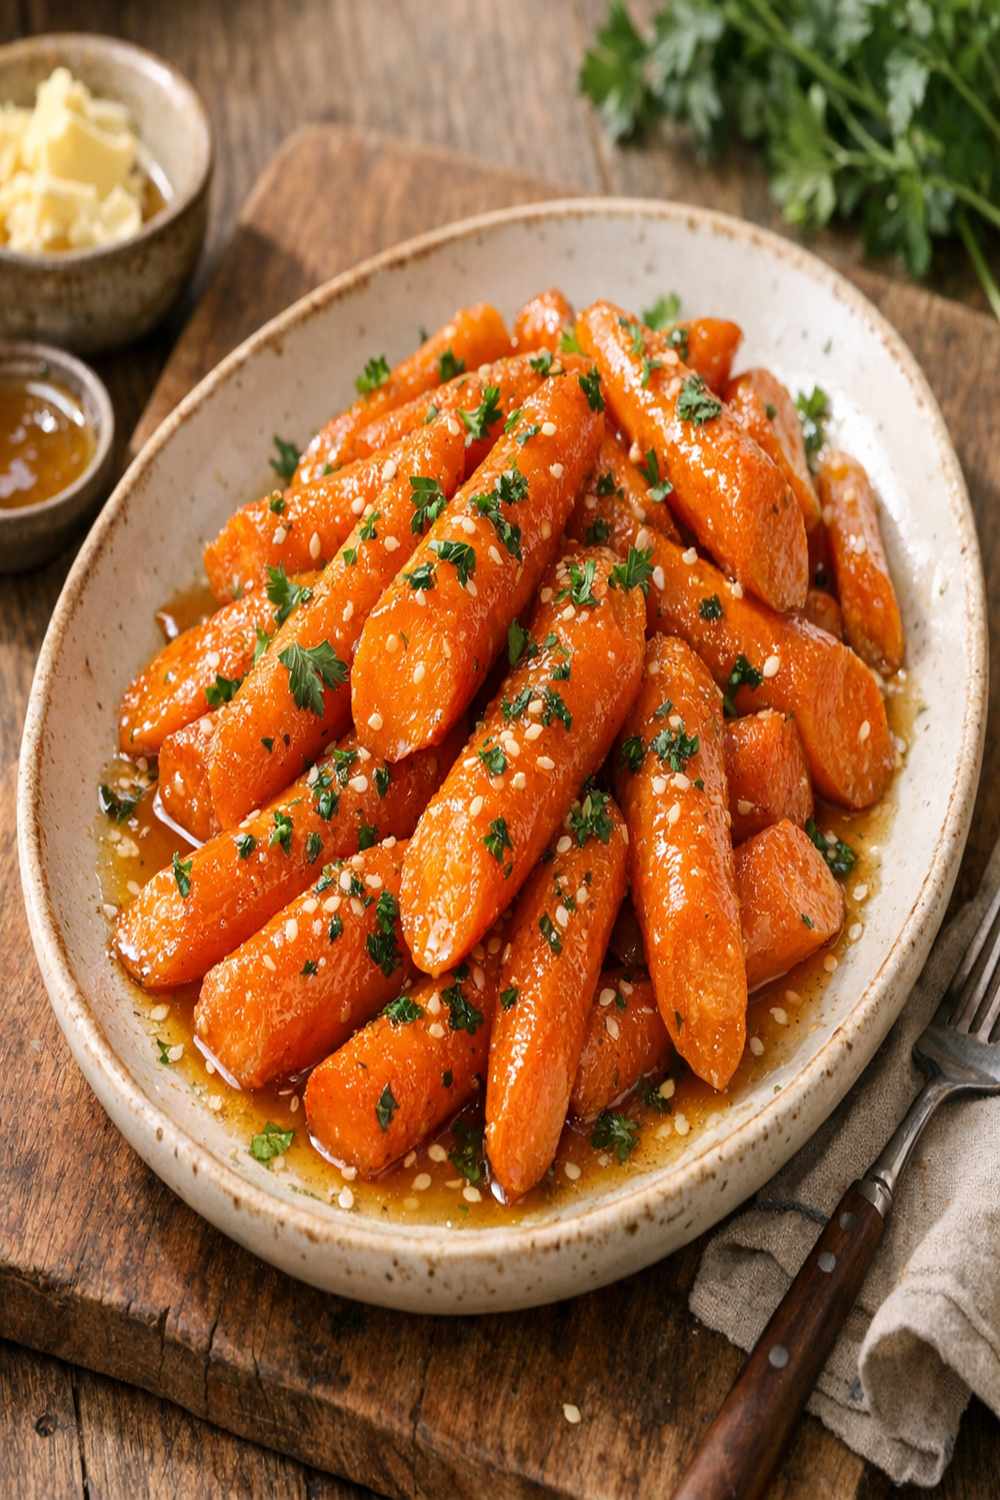
- Remove the pan from heat and zest your lemon directly over the carrots, aiming for about 1 tablespoon of zest. This bright yellow-green color against the deep amber carrots is visually striking, but more importantly, that lemon zest adds brightness that balances the richness of the butter and honey. It prevents the dish from feeling heavy, and nutritionally, you're adding vitamin C and antioxidants that support nutrient absorption. Give everything one final gentle stir to distribute the zest. If any liquid remains in the pan (called the pan sauce), that's liquid gold—it contains all the concentrated flavor. Leave it there for plating. The carrots should look glossy, golden, and absolutely beautiful.

Notes
- Natural light from the side is your best friend—That glossy glaze absolutely needs light to shine. Position your dish near a window with soft, indirect light hitting it from the side. This creates that jewel-like quality that makes people stop scrolling and pay attention.
- Shoot straight-on or from a 45-degree angle—These angles showcase the height of those diagonal slices and let the glaze catch light. The depth becomes visible, and the dish suddenly looks three-dimensional rather than flat.
- Include context with complementary colors—Place the carrots on a neutral plate or wooden surface with a protein nearby (think roasted chicken or the Best Meatloaf Crock Pot Recipe). That context tells a story about the complete meal while making the carrots look even more vibrant by contrast.