
Ingredients
Method
Step 1: Heat Your Oven and Prep Your Pan
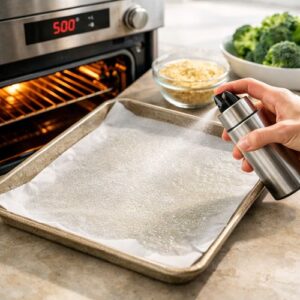
- Turn your oven to 500°F. This high heat is intentional—it caramelizes the broccoli's natural sugars quickly and creates that crispy panko topping without drying out the vegetable underneath. Line a large rimmed baking sheet with parchment paper or aluminum foil. Parchment paper is my preference because it's easier to clean and there's emerging research suggesting we should minimize aluminum exposure in cooking. Either way, the lining prevents sticking and makes cleanup—the part of cooking parents actually dread—take 30 seconds instead of 10 minutes.
Step 2: Coat Your Broccoli with Oil and Seasonings
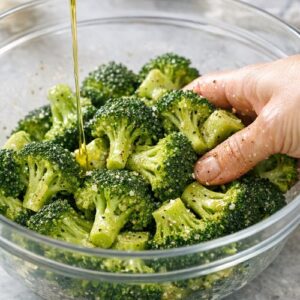
- Place your broccoli florets in a large mixing bowl. Drizzle with the 1½ tablespoons of olive oil. Here's the professional technique: use your hands to toss the broccoli, making sure every single floret gets coated with oil. This matters because oil carries flavor and helps browning happen evenly. If some florets are dry, they'll steam instead of roast. Sprinkle the black pepper and kosher salt over the oiled broccoli, then toss again. At this stage, I like to add the optional garlic and onion powder—they bloom during roasting and create that savory flavor that makes kids think they're eating something indulgent rather than a vegetable.
Step 3: Roast the Broccoli Alone First
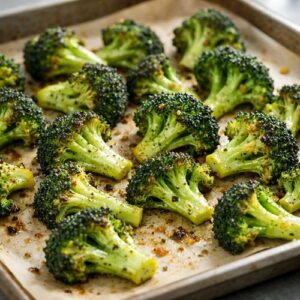
- Spread the seasoned broccoli in a single layer on your prepared baking sheet. This first roasting stage is crucial—you're not just cooking the broccoli, you're building caramelization and deepening its natural sweetness. Bake for 8 minutes at 500°F. You'll notice the florets turning golden at the edges and the kitchen smelling amazing. That aroma is the Maillard reaction—the chemical process that creates complex flavors and brown color. It's why roasted broccoli tastes nothing like steamed broccoli.
Step 4: Make Your Cheese-Panko Topping
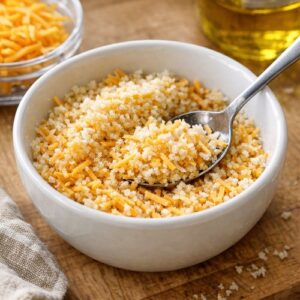
- While your broccoli roasts those 8 minutes, grab a small bowl and combine the 2 ounces of finely shredded reduced-fat cheddar with the ⅛ cup panko breadcrumbs. Stir them together with a fork. The finer you shred your cheese, the more evenly it'll distribute and melt. I use the microplane side of my grater rather than the large-hole side—it ensures the cheese melts completely into the panko instead of clumping. This mixture is your crispy, cheesy topping that makes this dish taste indulgent while keeping it light.
Step 5: Top and Final Bake
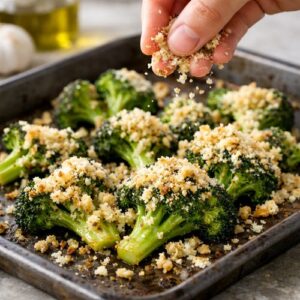
- Remove the baking sheet from the oven. Sprinkle the cheese-panko mixture evenly over the roasted broccoli. Now comes the secret step: give it a quick 1-second spritz of vegetable oil cooking spray. This light coating helps the panko brown and crisp without adding much fat. Immediately return the baking sheet to the oven for 3-5 minutes. Watch it during this second bake—panko browns quickly, and you want it golden and crispy, not dark brown. The cheese will melt and the panko will turn golden, creating a crunchy layer that contrasts perfectly with the tender-roasted broccoli underneath.
Step 6: Serve Immediately
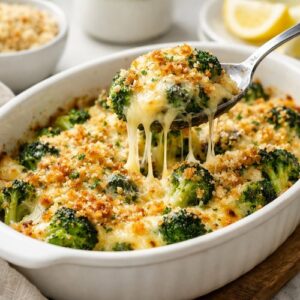
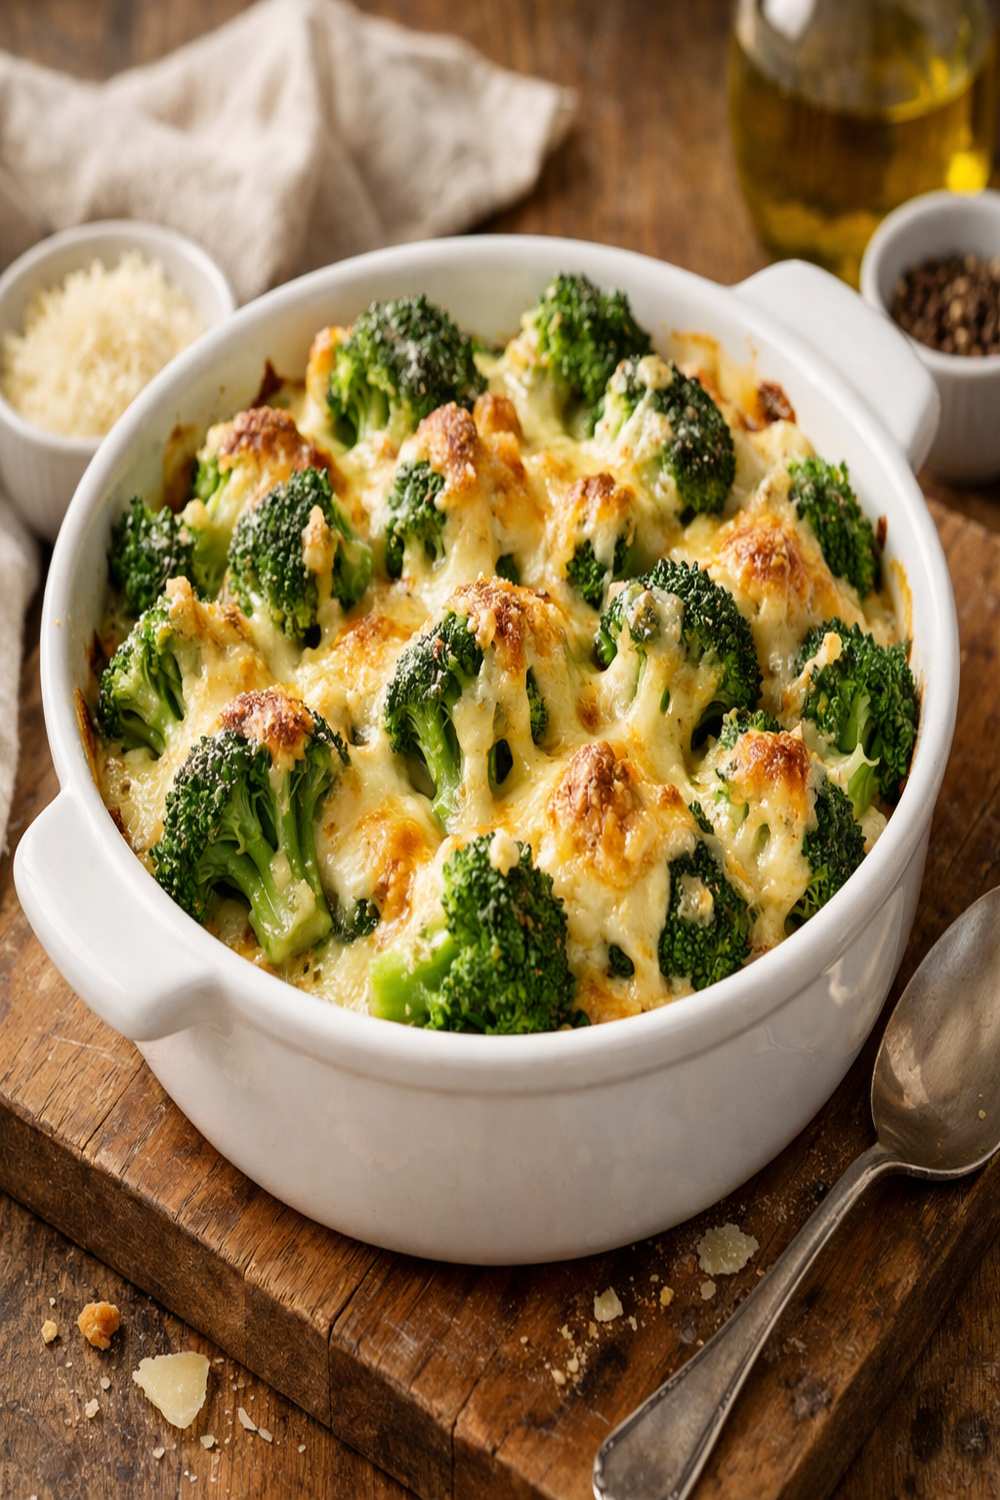
- This dish is best served straight from the oven while the cheese is still melty and the panko is at peak crispiness. If you prefer serving from a casserole dish instead (which some families find easier for family-style dinners), transfer your roasted broccoli to an oven-safe casserole dish after step 3, top with the cheese-panko mixture, spritz lightly, and bake for 3-5 minutes. The timing remains the same. Make sure your casserole dish is rated for 500°F—most modern ceramic and glass dishes are, but vintage ones sometimes aren't.